While at the coffee shop this weekend, I found myself taking a few pictures with the goal of slowing down, noticing the environment around me, and practicing my framing – plus I wanted to post it to Threads ?.
However, once I’d gotten the photos I wanted, I figured – if these are decent enough, why not post them on Apple Maps? That way other folks can get a better sense of the venue, plus the owners get somewhat nice, recent pictures of the shop. By no means do I think my photos are particularly great, but they’re a little better than the casual phone shots that some people have posted.
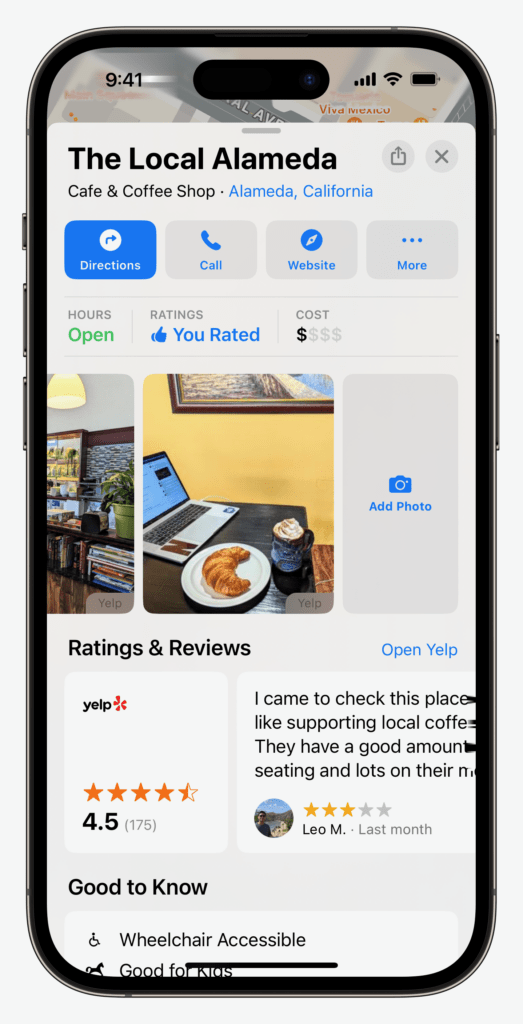
In order to upload photos to Apple Maps, you simply need to navigate to the venue page, then scroll through the photos to the end until you see “Add Photo.” From there, you can select Choose Existing or Take New Photo.
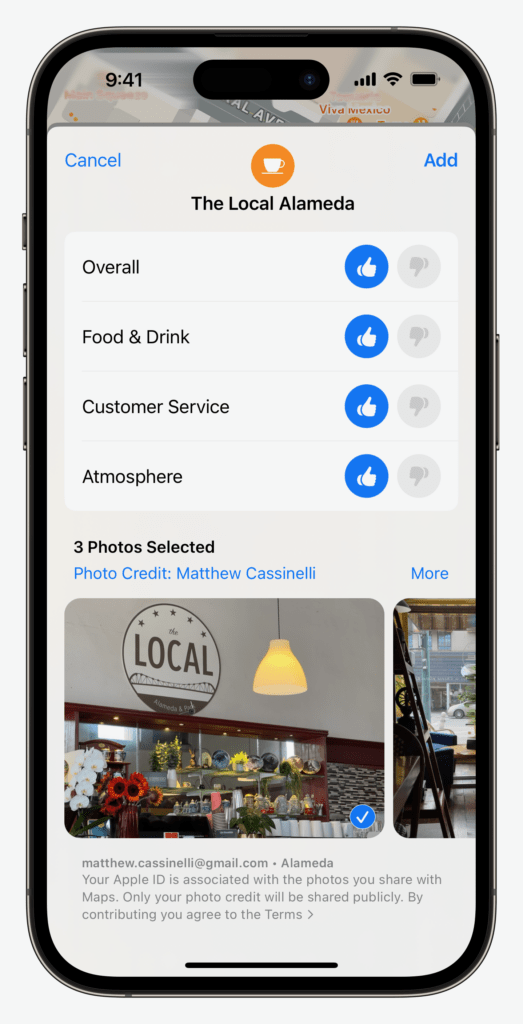
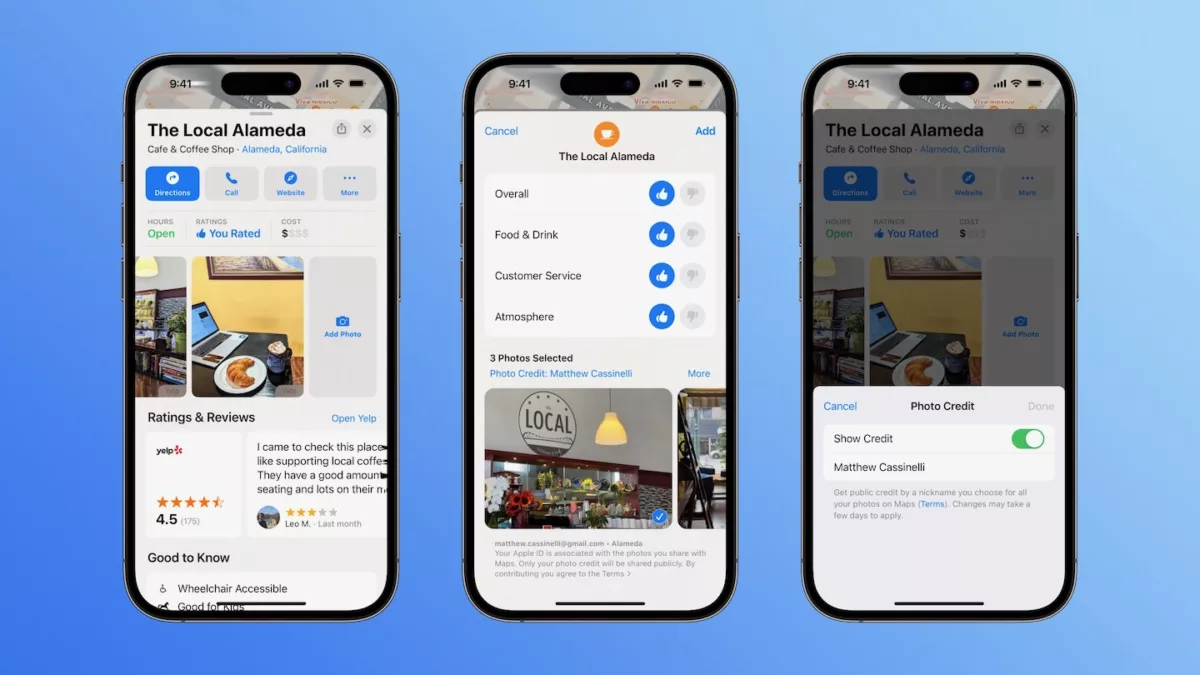
Then, when you’ve added one or more images, you’ll get prompted to add a rating, including Overall, Food & Drink (depending on the venue), Customer Service, and Atmosphere, all with thumbs up or thumbs down scoring and your photo beneath.
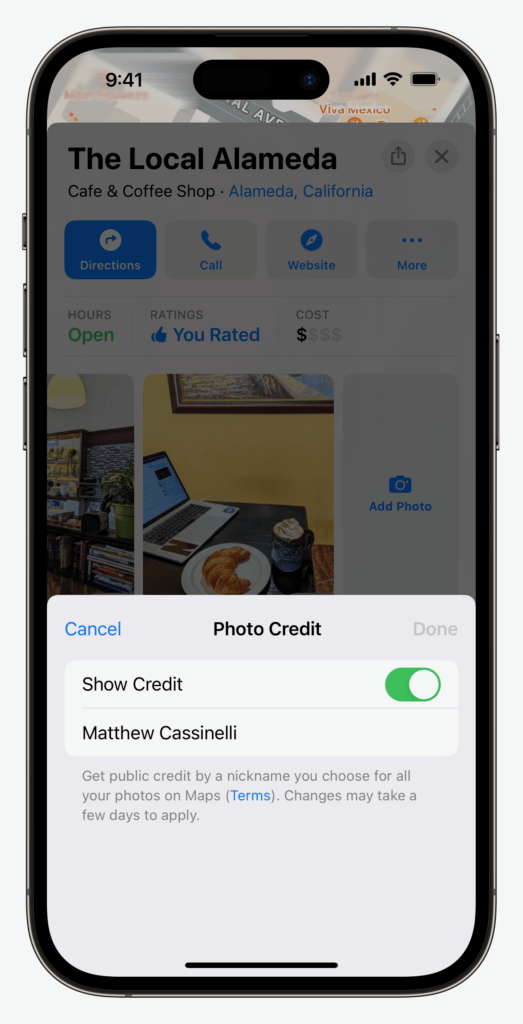
You’ll also have the option of adding a Photo Credit using a custom nickname – Apple describes it as “Get public credit by a nickname you choose for all your photos on Maps”.
Then, once you’re done, pressing Add at the top will submit your photos to Apple. After a few days, assuming there aren’t any issues, your images should start to show up in Apple Maps – neat!
I think this is a fun and productive way to practice photography – I’m able to hone my skills with a particular goal in mind, the venue owners get decent-looking photos, and the public gets better shots of the location; a win, win win. Plus, Apple Maps sucks a little bit less ?.