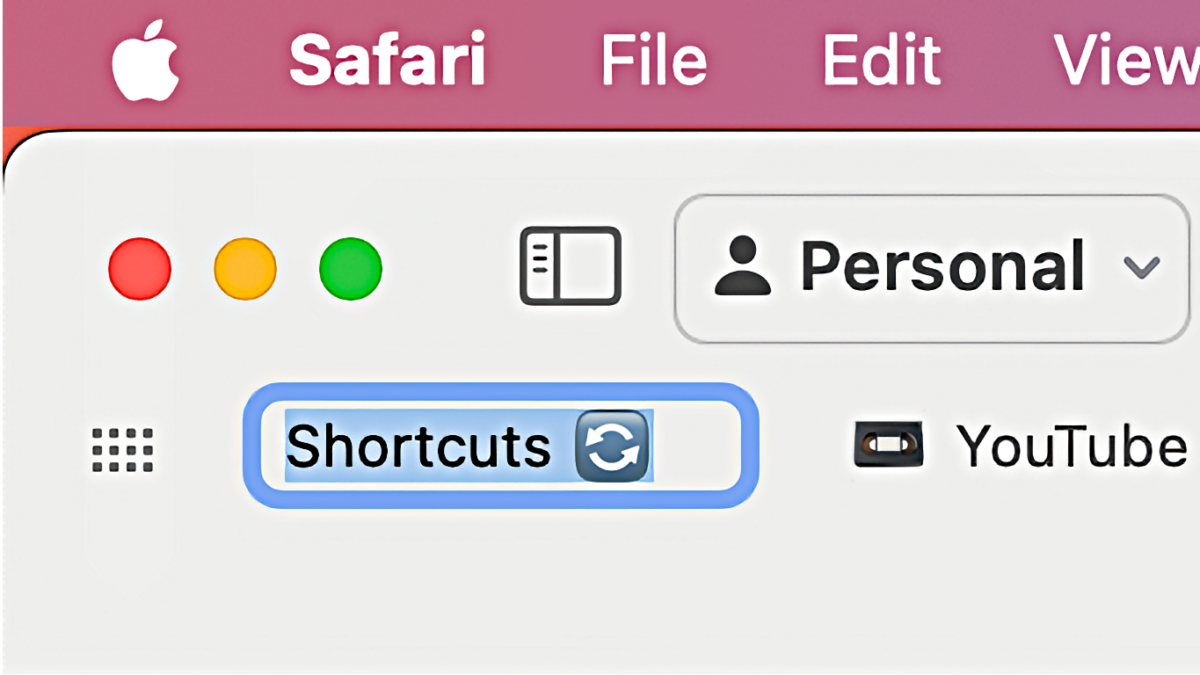
Many people don’t know that the Shortcuts app can be automated on the Mac using its dedicated scripting dictionary.
This requires a bit of meta thinking, but that means both the application itself and all the shortcuts contained within it are available to control remotely via AppleScript and applications like Script Editor – as well as triggered via devices like the Stream Deck, which I use every day at my Mac mini.
In order to make these methodologies more accessible, I wanted to share instructions here on how to access the AppleScript dictionary for Shortcuts, plus share a copy of the commands so everything is freely available on the web.
Here’s how to access Shortcuts’ scripting dictionary:
- Open the Script Editor app
- In the Menu Bar, select File > Open Dictionary (or press Command + Shift + O)
- Browse through the dictionaries until you find Shortcuts’ (or type “Shortcuts” on the keyboard to navigate there directly), then open the Dictionary.
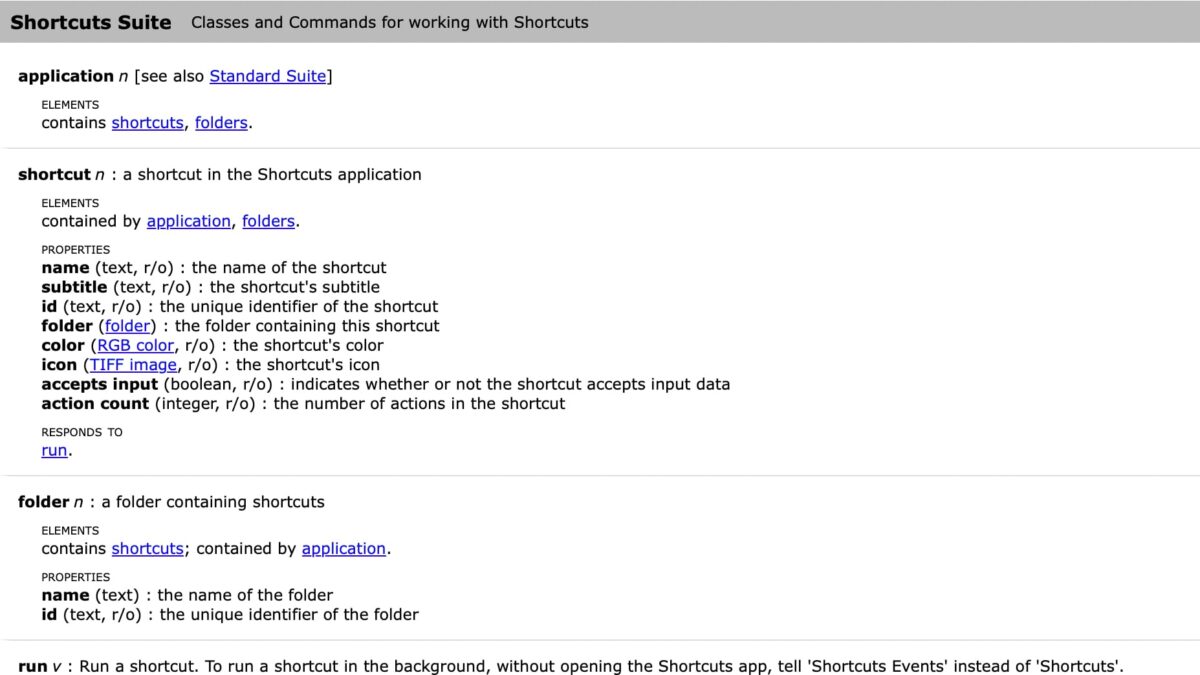
- There, you’ll see Standard Suite and Shortcuts Suite; under Shortcuts Suite, you’ll find the “Classes and Commands for working with Shortcuts.”
For reference, here’s what is documented in the command set:
Shortcuts Suite
Classes and Commands for working with Shortcuts
application n [see also Standard Suite]
ELEMENTS
contains shortcuts, folders.
—-
shortcut n : a shortcut in the Shortcuts application
ELEMENTS
contained by application, folders.
PROPERTIES
name (text, r/o) : the name of the shortcut
subtitle (text, r/o) : the shortcut’s subtitle
id (text, r/o) : the unique identifier of the shortcut
folder (folder) : the folder containing this shortcut
color (RGB color, r/o) : the shortcut’s color
icon (TIFF image, r/o) : the shortcut’s icon
accepts input (boolean, r/o) : indicates whether or not the shortcut accepts input data
action count (integer, r/o) : the number of actions in the shortcut
RESPONDS TO
run.
—-
folder n : a folder containing shortcuts
ELEMENTS
contains shortcuts; contained by application.
PROPERTIES
name (text) : the name of the folder
id (text, r/o) : the unique identifier of the folder
—-
run v : Run a shortcut. To run a shortcut in the background, without opening the Shortcuts app, tell ‘Shortcuts Events’ instead of ‘Shortcuts’.
run shortcut : the shortcut to run
[with input any] : the input to provide to the shortcut
→ any : the result of the shortcut
—-
To keep this post as reference material, I’ll share methods for utilizing these AppleScript commands here on my blog using my AppleScript tag.
To learn more about scripting, check out Apple’s documentation for Navigating a Script Dictionary – that’s part of the now-archived Mac Automation Scripting Guide which provides more insight into how Script Editor and AppleScript can be used across macOS.