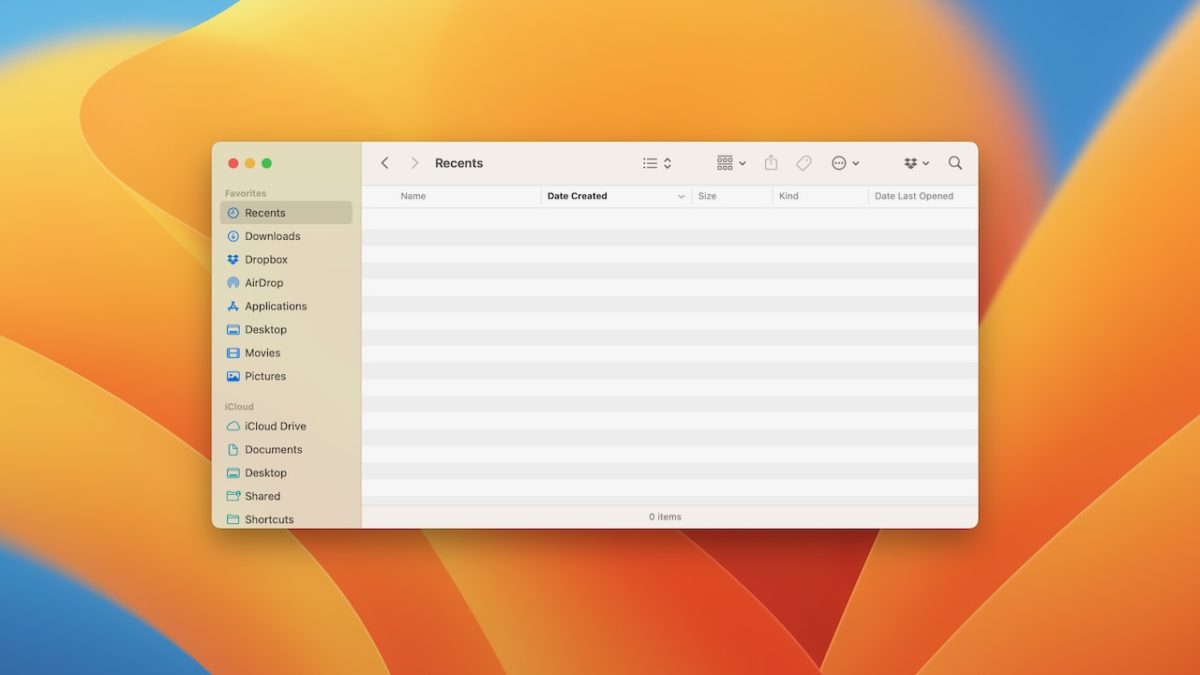
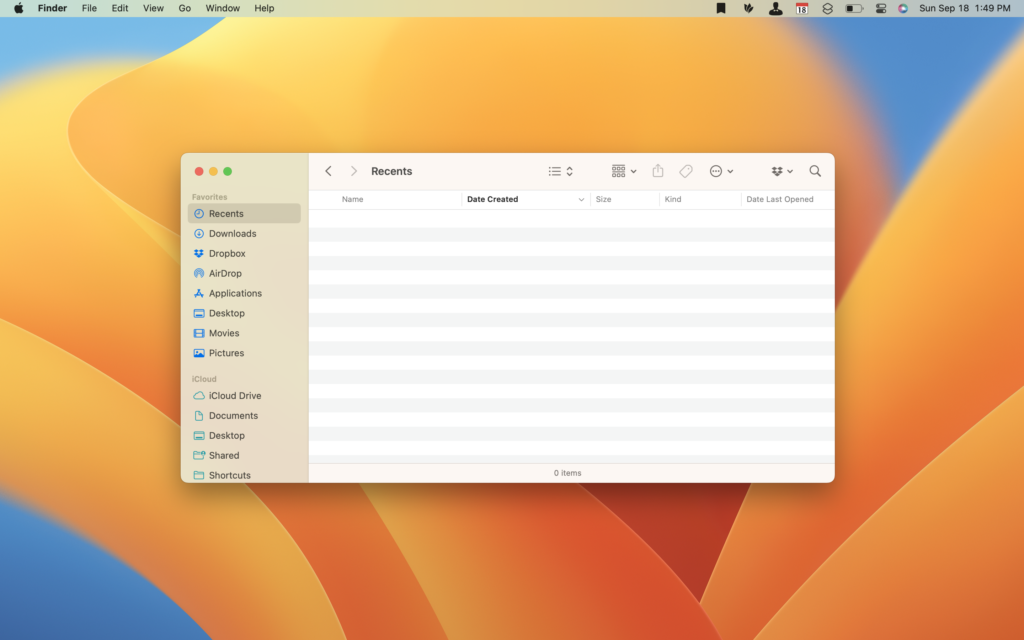
Ever since I installed the macOS Ventura beta on my MacBook Air, I’ve been having a weird issue where the Recents folder in Finder didn’t populate and showed as entirely empty — here’s how I fixed it.
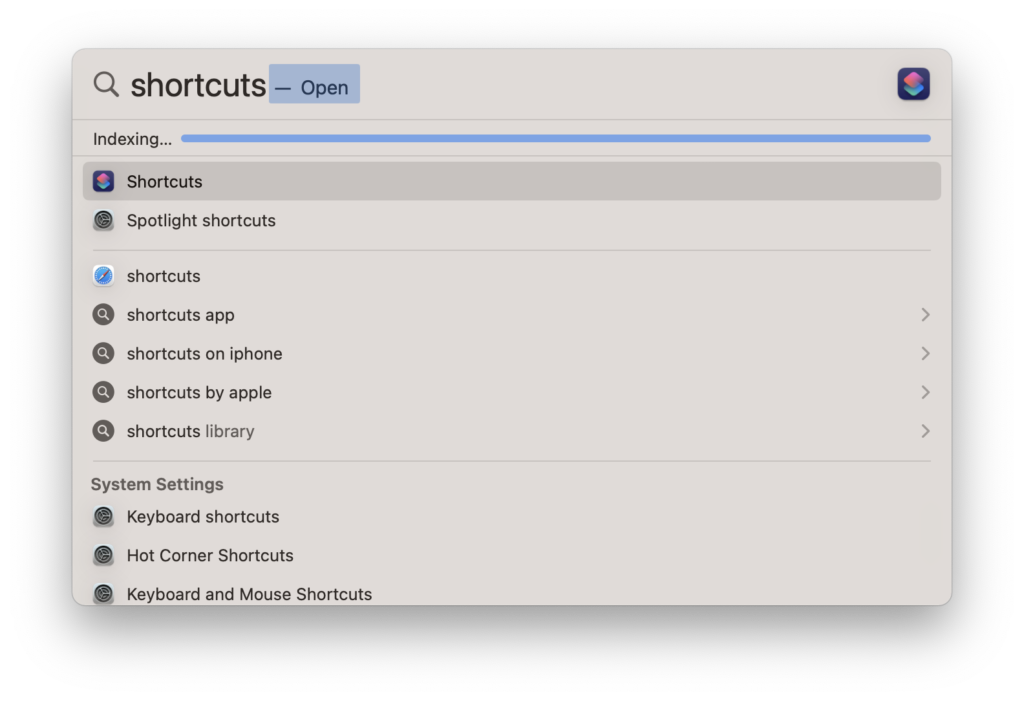
My problem popped up at the beginning of the summer, but it wasn’t until I installed Alfred 5 that I really started having trouble locating files. Once I realized new shortcuts that I built consistently didn’t appear in Spotlight, I knew I had to fix what was going on with my filesystem.

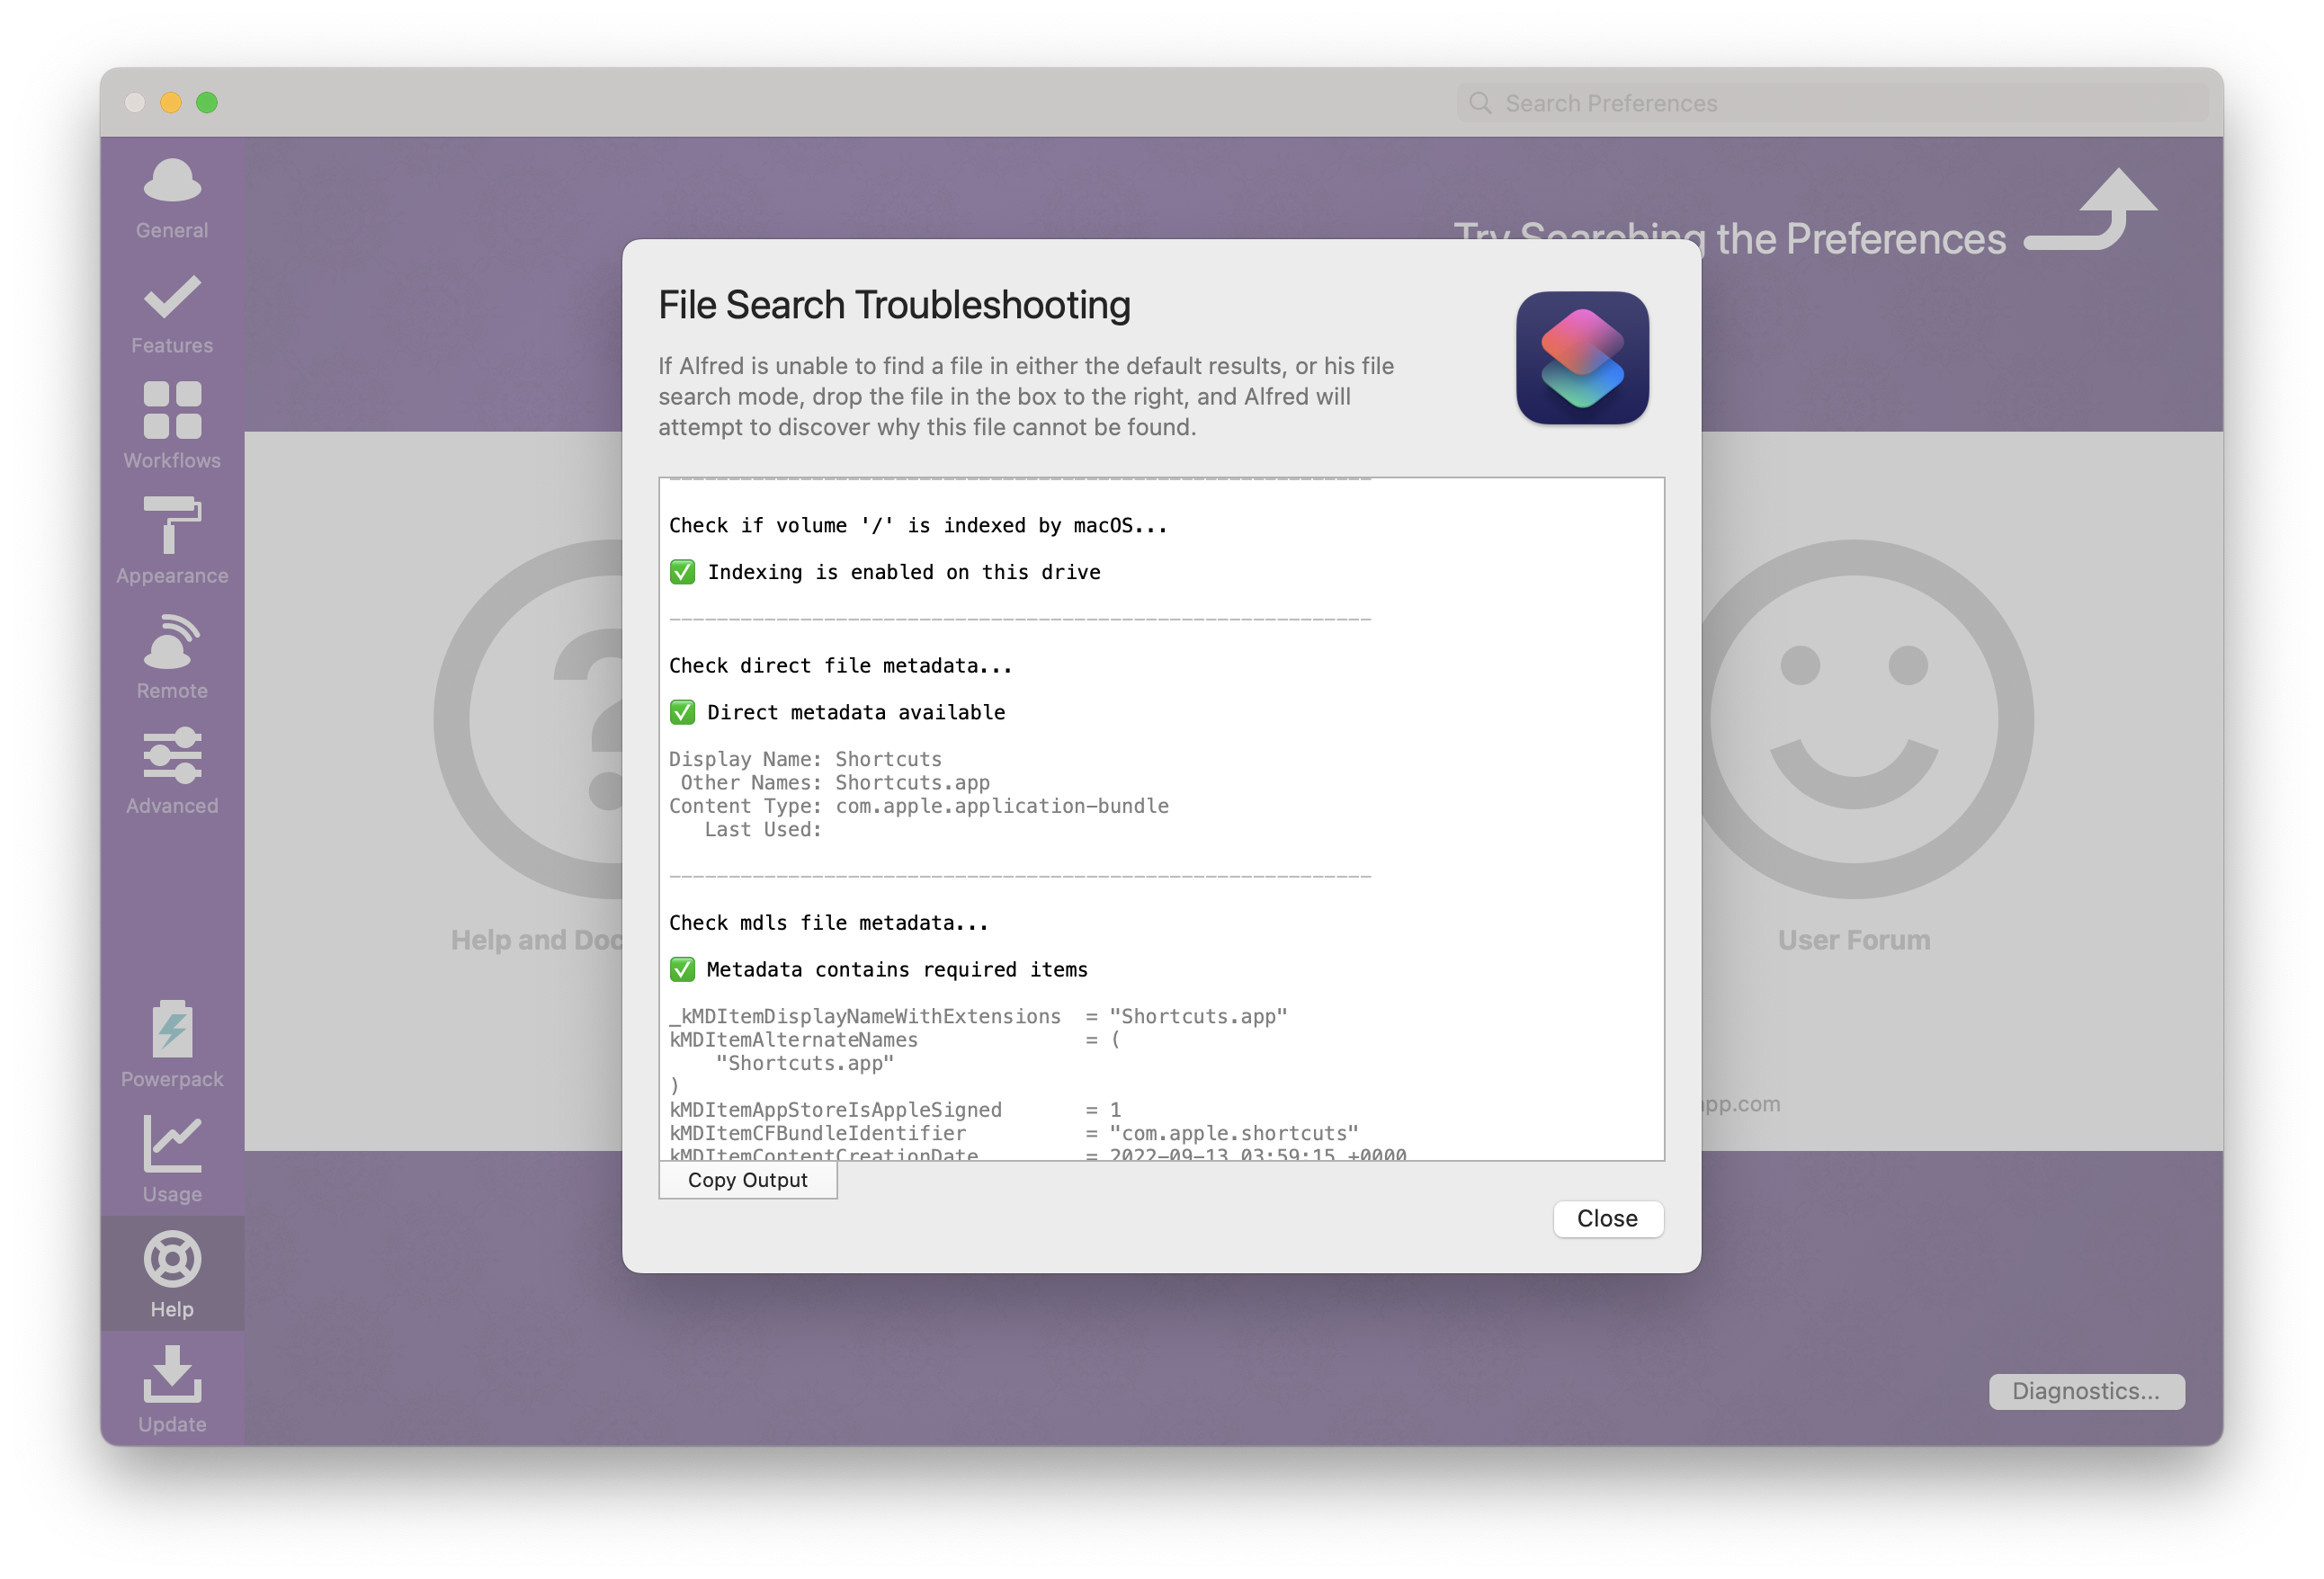
After poking around a bit and finding Alfred’s troubleshooting tool, their diagnostics suggested I had an indexing issue with Spotlight.
However, their tool for rebuilding the macOS metadata didn’t work for me due to a weird error with permissions that I couldn’t get past. Plus, Apple’s own guide for fixing Spotlight issues recommended that I add my entire Macintosh HD disk in Spotlight \> Spotlight Privacy in order to prevent Spotlight from searching the entire drive, then had me remove it to start the rebuilding process — when I did that, however, it didn’t take.
Finally, I came across this blog post (promoting the app BohoCleaner) that lists the following Terminal commands to help you start the rebuilding process — and it worked for me!
Terminal can also help you rebuild the Spotlight index. All you need is a few commands.
1. Open Finder, then click Applications \> Utilities \> Terminal.
2. In the Terminal, type and run the command:sudo -i.
3. Enter your administrator password and press Return.
4. Continue to run the commands:mdutil -Eaandmdutil -ai off.
5. Enter the commandmdutil -ai onand press Return, and you will see a message saying that indexing is enabled.
6. When you search using Spotlight, it will show that it is indexing.

My only note is to make sure you follow step 4 and “continue to run the commands” — it needs multiple runs to actually get started.
Once your Spotlight index begins rebuilding, it may take some time — a progress bar appears in the search field, letting you estimate how much time is left. Make sure you have to let it complete too, as it took my computer over 45 minutes to finish.
In the meantime, running Alfred’s diagnostics tools again confirmed that everything is working properly again, and searching for the same files that weren’t appearing before now shows them all properly — very nice.
Hope this helps someone who has the same problem!

As a reminder, be extra careful when running other commands that require sudo access — it stands for “Super User DO” and can run things with extra privileges. According to this doc from Apple Support, you can learn more about sudo using the command man sudo.