Categories
Gear How To Links

How to use Visual Intelligence on iPhone »

From Apple Support:

Use visual intelligence to quickly learn more about what’s in front of you, whether in your physical surroundings or on your iPhone screen.

To learn more about your physical surroundings using your iPhone camera on models that have the Camera Control, just click and hold it to do things like look up details about a restaurant or business; have text translated, summarized, or read aloud; identify plants and animals; search visually for objects around you; ask questions; and more. […You can also] access visual intelligence by customizing the Action button or Lock Screen, or opening Control Center. See Alternate options to using the Camera Control.

To learn more about the content on your iPhone screen across your apps, simply press the same buttons you use to take a screenshot. You can search visually, ask questions, and take action, like turning a flyer or invite into a calendar event.

I’ve been learning more about now that developers can integrate their app with Visual Intelligence.

View the full piece on the Apple Support site and read more about the Developer documentation.


Categories
How To

How To See Any YouTube Channel’s Livestreams Immediately

If you’re someone who enjoys watching livestreams on YouTube, you may not know about the permanent redirect for every YouTube channel that takes you straight to their current livestream or recent streams – just add /live to the channel URL.

I recently published a set of shortcuts for TBPN, the tech & business news podcast, which I like to watch live on YouTube occasionally – the shortcut “Watch TBPN Live” uses the /live redirect to the show. In this context, having one URL for both a live show or capturing a recent stream is ideal, because I can jump straight to the full shows – oftentimes the Home tab of YouTube channels are filled with clips or playlists, and this makes it easy to get straight to the latest full streams of any live video podcast.

My YouTube channel URL is https://www.youtube.com/@matthewcassinelli, and the URL for the Live page is technically https://www.youtube.com/@matthewcassinelli/streams. However, adding /live to the channel URL—https://www.youtube.com/@matthewcassinelli/live—creates a redirect that goes to that same streams page when I’m not live – or directly to the current livestream when I’m live on-air.

I love using this when directing people towards my own livestreams, because it provides a single, clean permalink that never changes and can be used in any social media post that’s written ahead of the stream. Once the show is over, I can use the actual video permalink to share the episode with other people, but ahead of time this single /live redirect is ideal for promotion.

Plus, since I can’t help myself, I built a shortcut for livestreams on YouTube that take advantage of this exact capability. My “Open livestreams for this channel” shortcut lets you take any current video URL, scrape the channel URL from its metadata, and redirect you to the livestreams page of that channel – so you can see their latest streams and even tune in immediately if they are live now. Try calling up the shortcut using Type to Siri next time you’re watching a video and check out if the channel does any livestreaming.

Get the shortcut in the YouTube Videos folder in my Shortcuts Library. Plus, follow me on YouTube and check out my livestreams.


Categories
Gear How To Links

How Fast Should My Internet Be To Stream? »

Elgato has shared a helpful guide for ensuring your internet is fast enough for streaming:

Streaming your content live online is more accessible than ever and also can be equally data hungry. From streaming right from your phone to your followers on TikTok to streaming a professional event in 4K 60fps with High Dynamic Range on YouTube, these all require some amount of bandwidth to get your live content to where it needs to be.

And:

In short, here’s the maximum bitrates supported by the services.

Twitch: 6Mbps (up to 1080p)

YouTube: 40Mbps (Up to 4K)

Also, these are upload speeds – and if you’re using both, it can take even more. I use High Quality Audio and High Quality Video in Ecamm Live, which also add to the network load.

Check out the post from Elgato and get Ecamm Live to stream from your Mac.

Also, be sure to sure use my discount code ZZ-CASSINELLI for 5% off from Elgato.

Categories
Gear How To Links

How To Archive Your Live Stream And Why To Do It »

Elgato has shared a handy guide for making sure you always have a copy of your livestream for later – something that tripped me up when I first started on Twitch:

You just finished a stream full of funny moments, interesting discussion, or a great final stand in a battle royale. But what happened to all that content? Did it just end up in the void or did you make sure to save it for later?

Some streaming services like Twitch.TV have time limits for how long they’ll hold onto your past livestream. If you want those moments to live on, you’ll need to archive them somehow. And in some cases, videos are simply unavailable after the stream due to copyright reasons. If you don’t enable storage of those past streams, it’s been too long, or you listened to some music on stream by accident, those moments could just be history.

If you stream right onto YouTube, and you’re already set as those will automatically be archived as a regular video, as long as you weren’t doing a subathon for over 12 hours. If all you want is for your streams to live on, you’re good to go.

Check out the post from Elgato and follow me on Twitch.

Also, be sure to sure use my discount code ZZ-CASSINELLI for 5% off from Elgato.

Categories
How To

How To Rotate Upside-Down Top-Down Camera Footage using the Final Cut Pro Browser

In the process of switching my mounted overhead video setup from a backdrop bar to the Elgato Multi-Mount, I had to make one significant shift – filming upside-down, since the camera is now attached to the back of the desk instead of mounted above from the front. Unfortunately, that means all of my footage needs to be rotated before being usable in editing programs.

In Final Cut Pro for Mac, you can easily rotate clips once you’ve added them to the timeline. However, I’m not actively building a story yet, and I’m instead using the Browser to organize my footage into individual clips using in/out points and Favorites. For a long recording like an unboxing, I can turn an hour of footage into a full set of individual moments as clips, all timed exactly for the action, renamed as needed, and split apart as separate entities in the Browser.

This process and my footage means, by default, all my Browser clips are also upside-down, and at first glance this seemed like a big problem for my editing style – timeline editing is very different than clipping in the Browser, and I might be out of luck.

However, thanks to “2old2care” on Reddit (great username), the solution lies in the “Open Clip” menu option, which I’ve never used before:

Yes, you can invert the clip in the browser. Select the clip, then under “Clip” menu select “Open Clip”. You can then go to transform and rotate the clip 180º. I don’t know of a way to create a batch in FCP to do this, although it can be done for the original clips using Compressor.

To save myself the trouble of remembering later, I took screenshots of the process – here’s my setup in Organize mode (under Window > Workspaces > Organize):

How to rotate clips within the Browser using Final Cut Pro

  1. Select the clip you want to rotate – use the filmstrip to identify which files were filmed upside-down.
  2. In the Menu Bar, navigate to Clip > Open Clip, which has no keyboard shortcut. Optionally, assign a keyboard shortcut under Final Cut Pro > Command Sets > Customize (or use ⌥ + ⌘ + K / Option + Command + K to customize immediately).
  3. In the Final Cut Pro window, the selected clip will open in its own timeline view. In the Inspector, select Transform and change the Rotation from 0° to 180°.
  4. In the center of the window, find the clip name and click the dropdown arrow next to it to reveal a context menu – close the clip to return to the full Browser view. The filmstrip will show the flipped clip as you scroll, however it will continue to show the original upside-down version in the static filmstrip until you leave the project and navigate back/refresh the window.
  5. Repeat for each upside-down clip.

As 2old2care mentioned, batch-processing files like this would be a more ideal solution – I’ll update this post if I find one.

Check out the source on Reddit, get the Multi-Mount from Elgato, and get Final Cut Pro for Mac from Apple.

Categories
Gear How To

How To Turn Off The Beats Pill (2024)

If you’ve just purchased the updated Beats Pill from Apple, you’re probably looking for how to turn it off, since Apple oddly left it out of the packaging and user guide. Here’s how:

  • Press and hold the Power button for more than 1 second, but less than 3 seconds.

It’s actually 0.8 seconds – that’s according to the aptly-named post “The new Beats Pill is a fantastic speaker with a questionable control scheme” from Mobile Syrup, where author Brad Bennett said this:

One of my main points of contention with the new Pill is how few buttons it has for its plethora of controls. For instance, the power button has six different functions.

  • Power on/off (hold for more than 0.8 seconds, but less than three)
  • Pairing (press and hold for over three seconds)
  • Voice Assistant (double tap)
  • Battery status (quick tap, less than 0.8 seconds)
  • Change charging direction (triple tap)
  • USB-C audio pass through (press and hold button while plugging in USB-C cable)

This is way too much for one button.

That’s not even including the six functions for the center button as well, which the linked story covers.

Further in the same piece, Brad also highlighted the same issue that I found – Apple never actually tells you how to power down your Beats Pill, anywhere. Here he is again talking about the physical manual:

When you unfold it, there are a few quick controls laid out, but it doesn’t even mention how to turn the speaker off, which as I found out, is more complex than it needs to be.

Instructions for how to actually turn off your Beats Pill don’t come in the manual that comes with the speaker, are not in the user guide linked on the QR code that’s on the manual, and are nowhere online except Brad’s article – hence why I’m writing a dedicated piece to help people discover this explicit.

Update: Some folks are talking about it on Reddit, but the solution is only half-correct.

To help further illustrate the power instructions, I created this custom graphic from an amalgamation of the images in the User Guide and SF Symbols.

Also, to illustrate the USB-C instructions, I created this second graphic as well with SF Symbols – Apple probably wouldn’t label this with the Lossless badge or the USB-C image, but I find it helpful for remembering those functions.

Thanks to Brad for the method – check out his full Beats Pill review from Mobile Syrup.

Get the new Beats Pill from Apple or Amazon.

Categories
How To

How to reopen the Action Bar for the Stream Deck Pedal on macOS

If you’re a Stream Deck Pedal user, you are likely familiar with the Action Bar, the floating window that hovers over your desktop and shows you which actions are currently available on your pedal – after all, how else would you know what will occur when you tap a pedal?

While this is convenient when you actively want to use the pedal, you might find yourself hiding the Action Bar when you don’t want to see it – and each time I do that, I completely forget how to turn it back on. So, for my own sake, I’m publishing a how-to so I can find it again.

On Windows, right-clicking on the app tray will show the option to Show Action Bar. On macOS, however, the app doesn’t actually stay open in the Dock (since it doesn’t run as a typical application), meaning that option isn’t available behind the right-click.

Instead, the option to “Show Action Bar” is located in the Menu Bar plugin for the Stream Deck, in the sub-menu underneath the Stream Deck Pedal device (I tend to miss this location since I have my Menu Bar apps hidden with Bartender).

Click it, and your Action Bar will appear again.

Once the Action Bar is visible, this option also switches to “Hide Action Bar,” should you want to hide the actions from the screen temporarily again.

Hope this helps!

Get the Stream Deck Pedal from Elgato and use my code ZZ-CASSINELLI for 5% off at checkout.


Categories
Custom Shortcuts How To

How To Check Your App Store Subscriptions with Reminders and Shortcuts

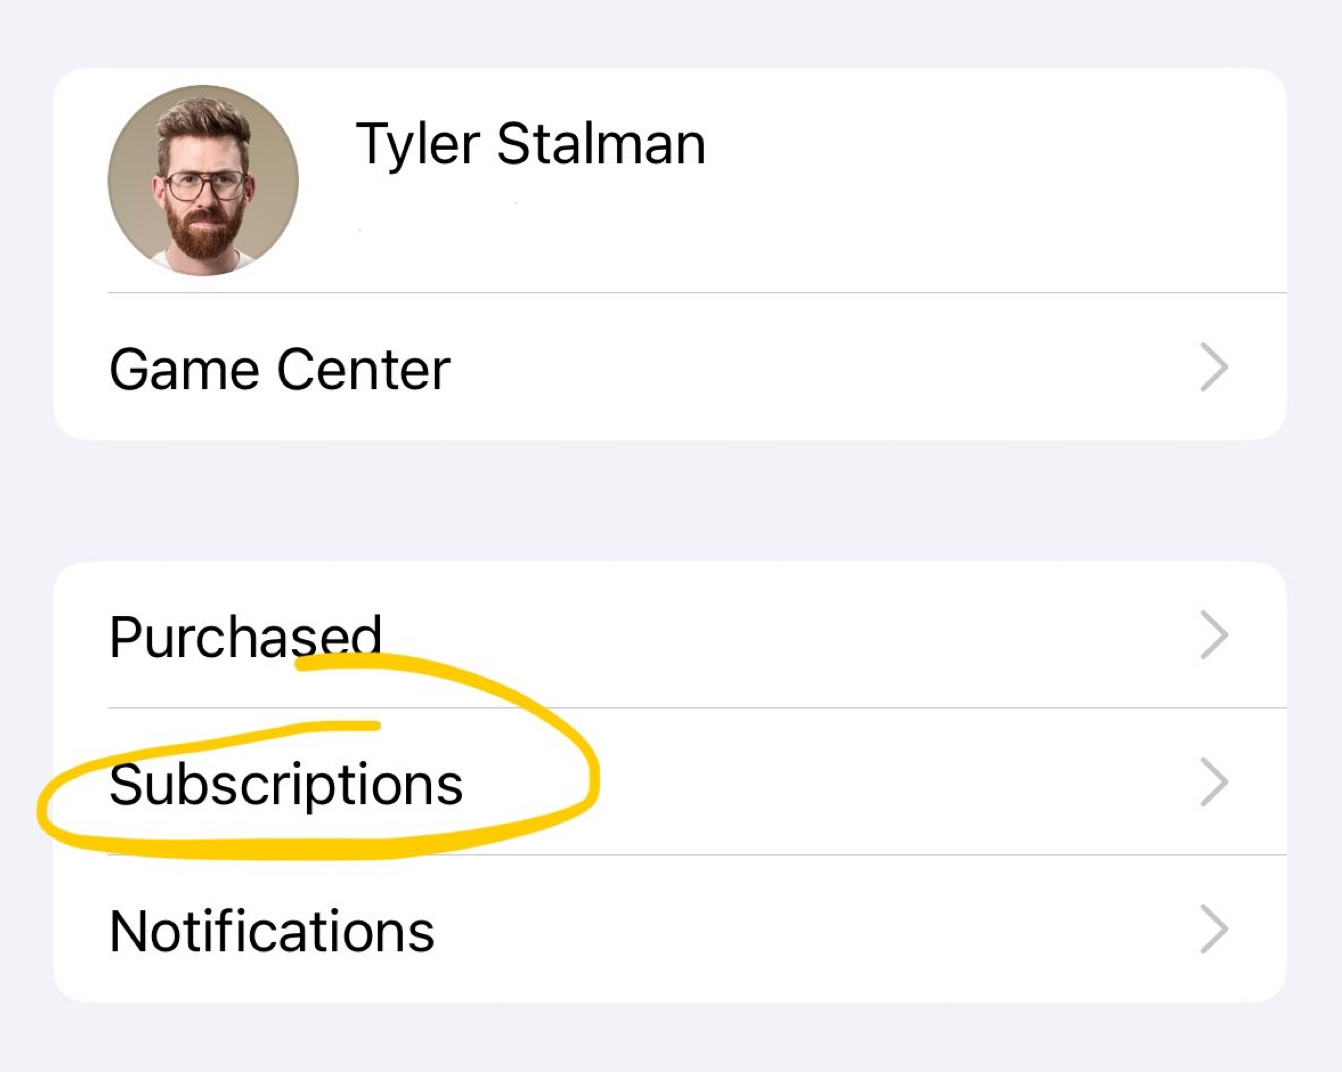
This morning, I saw creator Tyler Stalman talking about his app subscriptions, giving a tip about free trials:

Pro Tip: first thing I do when I sign up for an app free trial is immediately cancel it

The trial period still works & if I don’t end up using the app I’ll probably forget to cancel the subscription before I get charged

If I do like it I’ll be sent a reminder to renew

If you’re unsure about new subscriptions and want to evaluate the true value of your apps, this is a great strategy.

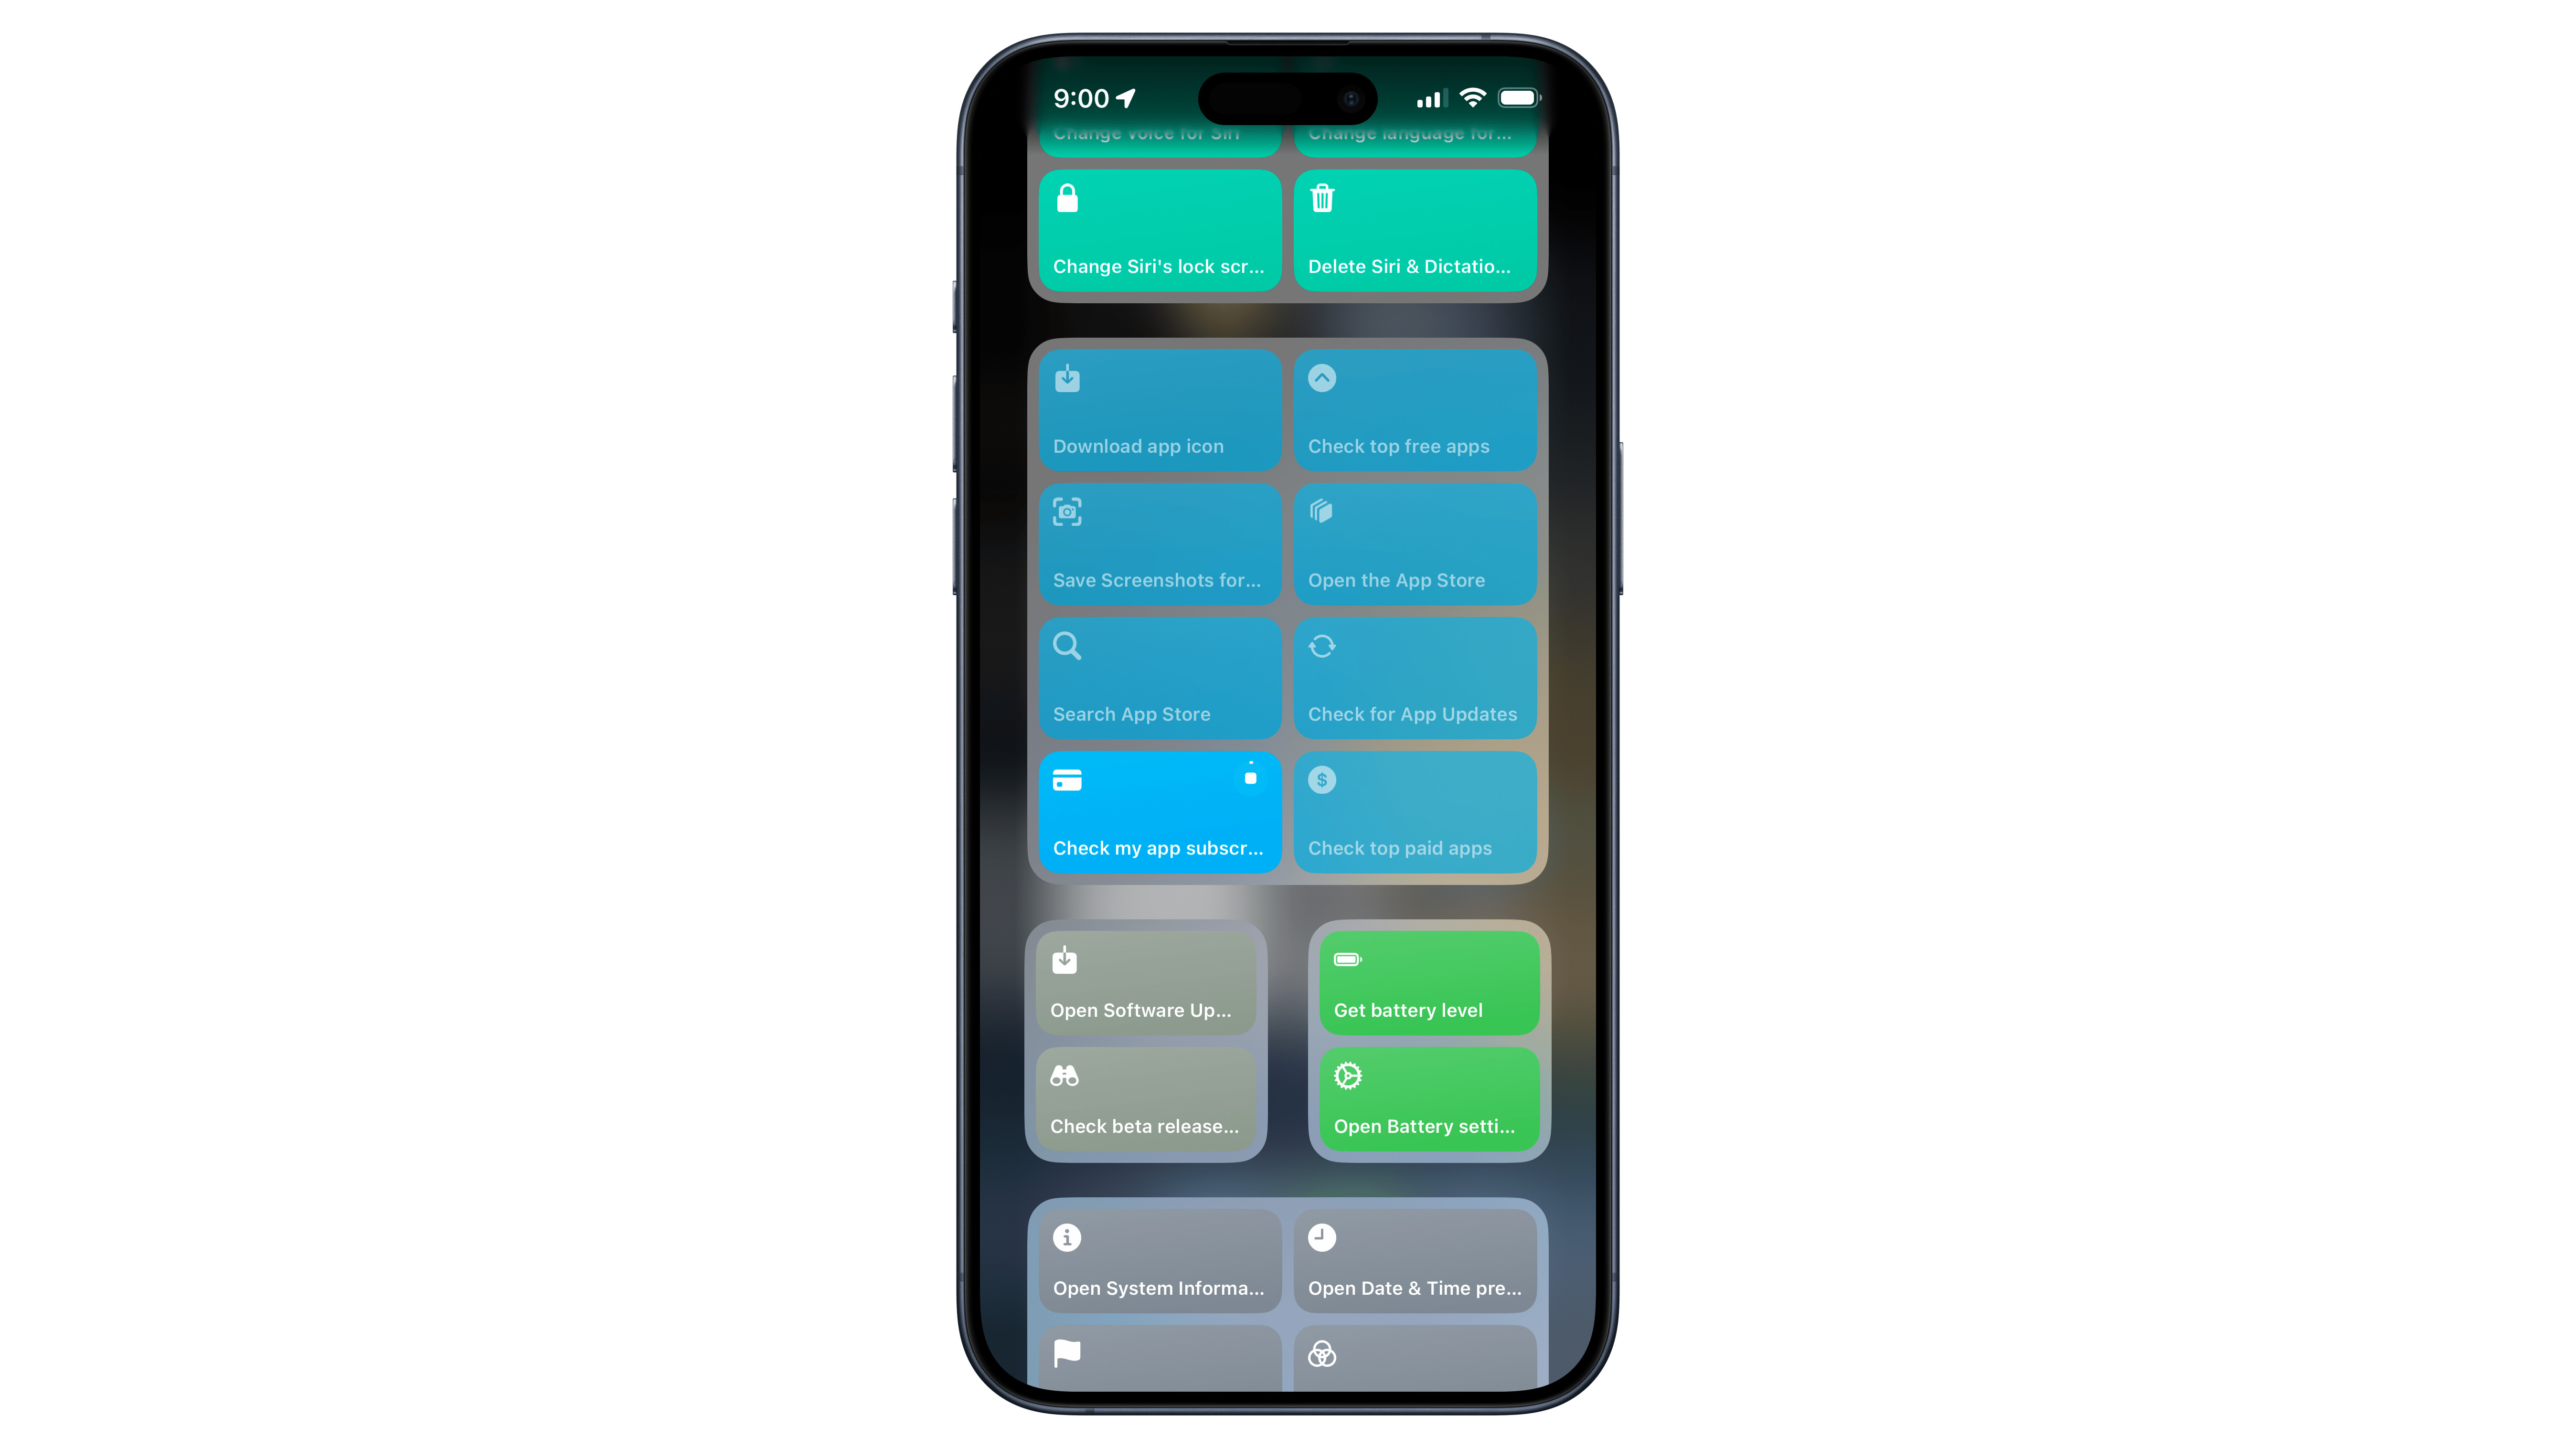
I have a technique (which I shared in the replies) to access this same page using Shortcuts, plus set a reminder to run that shortcut regularly – using my Check My App Subscriptions shortcut.

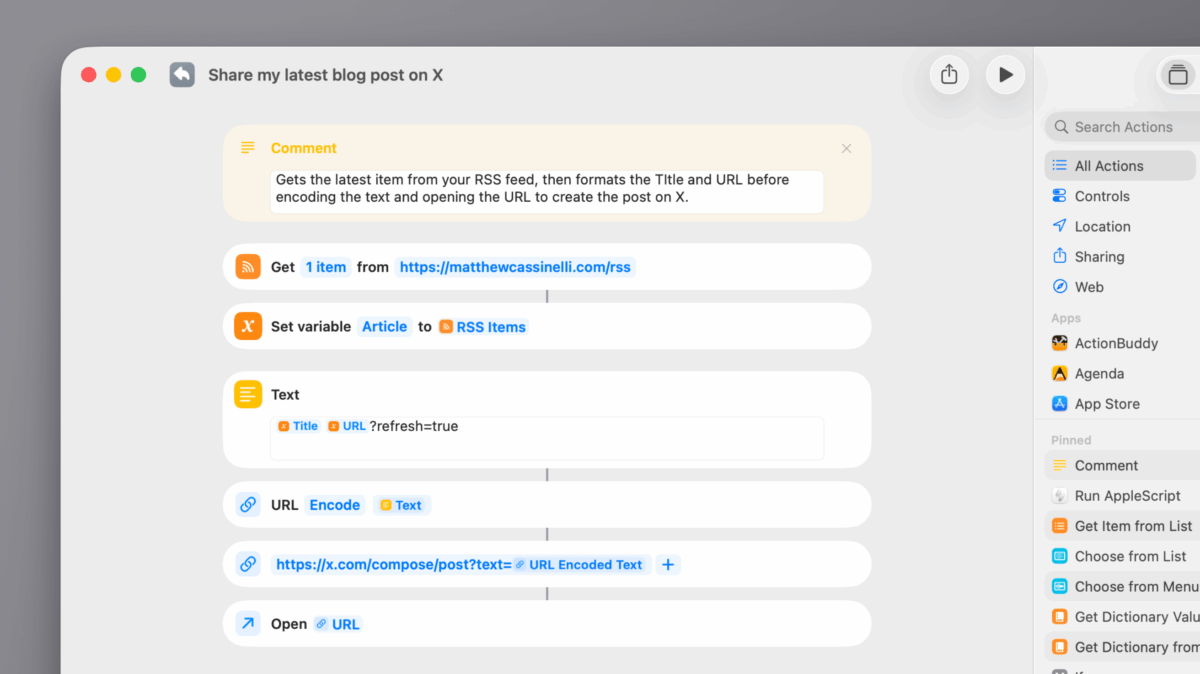
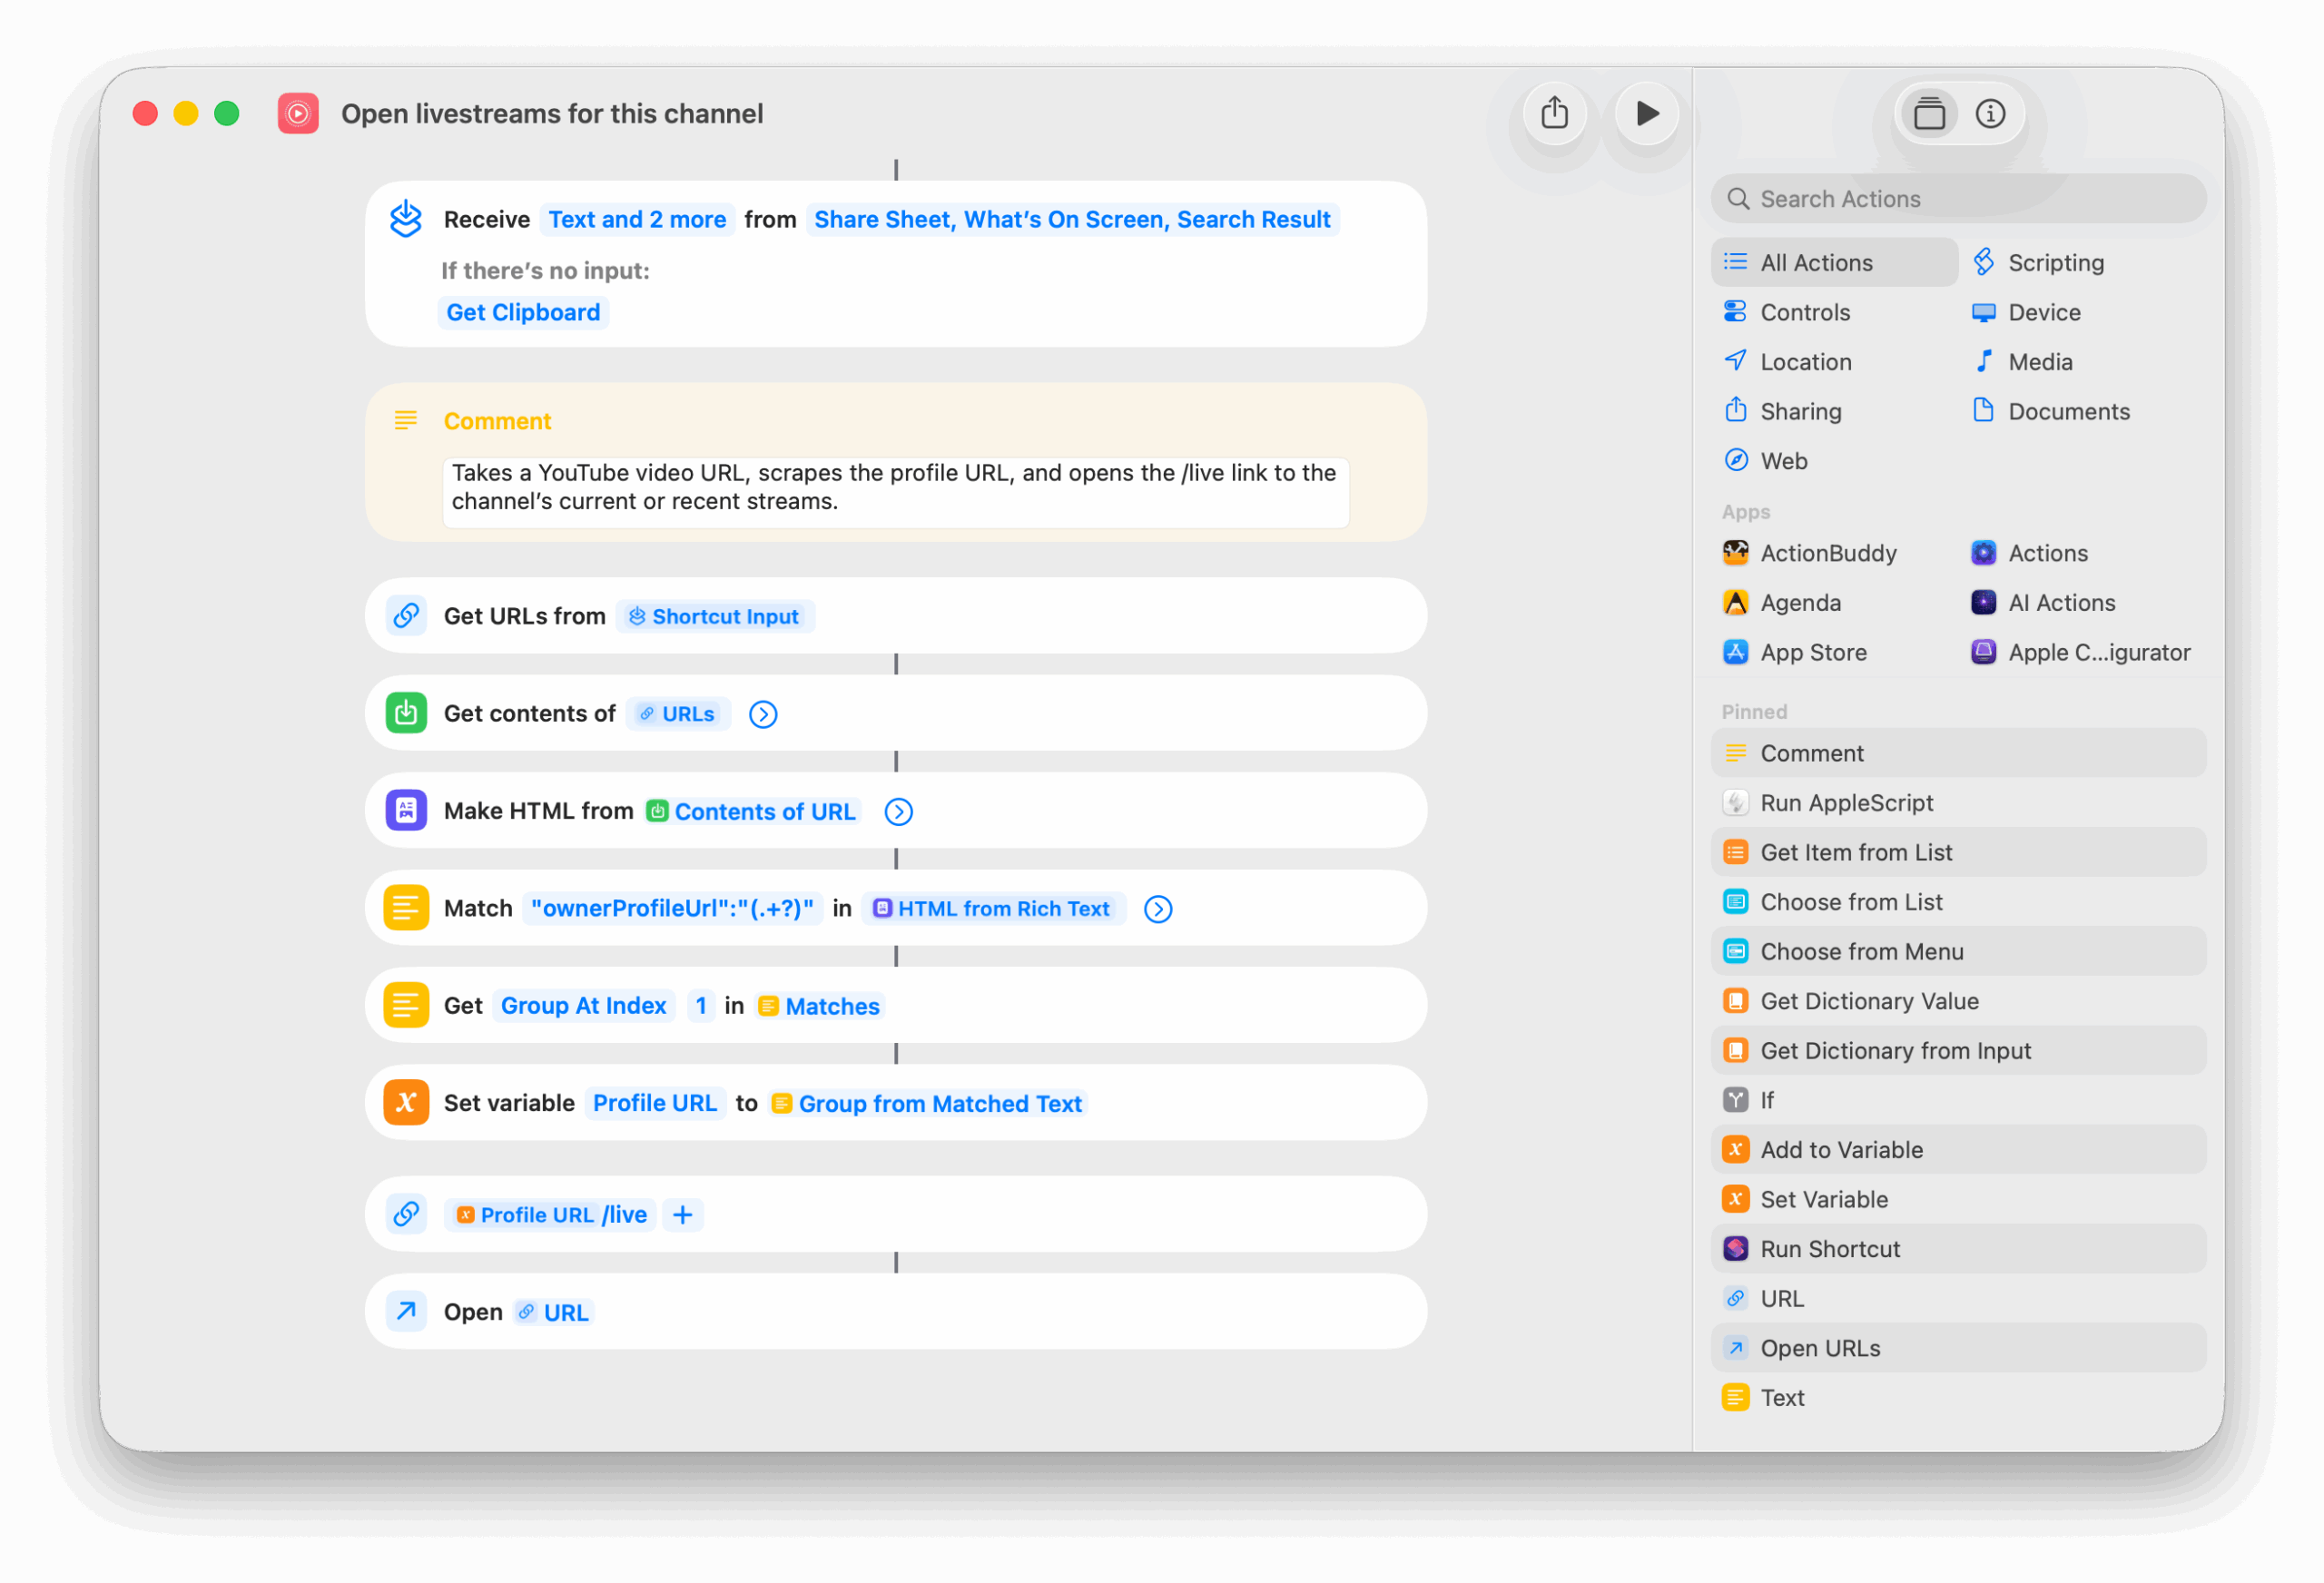
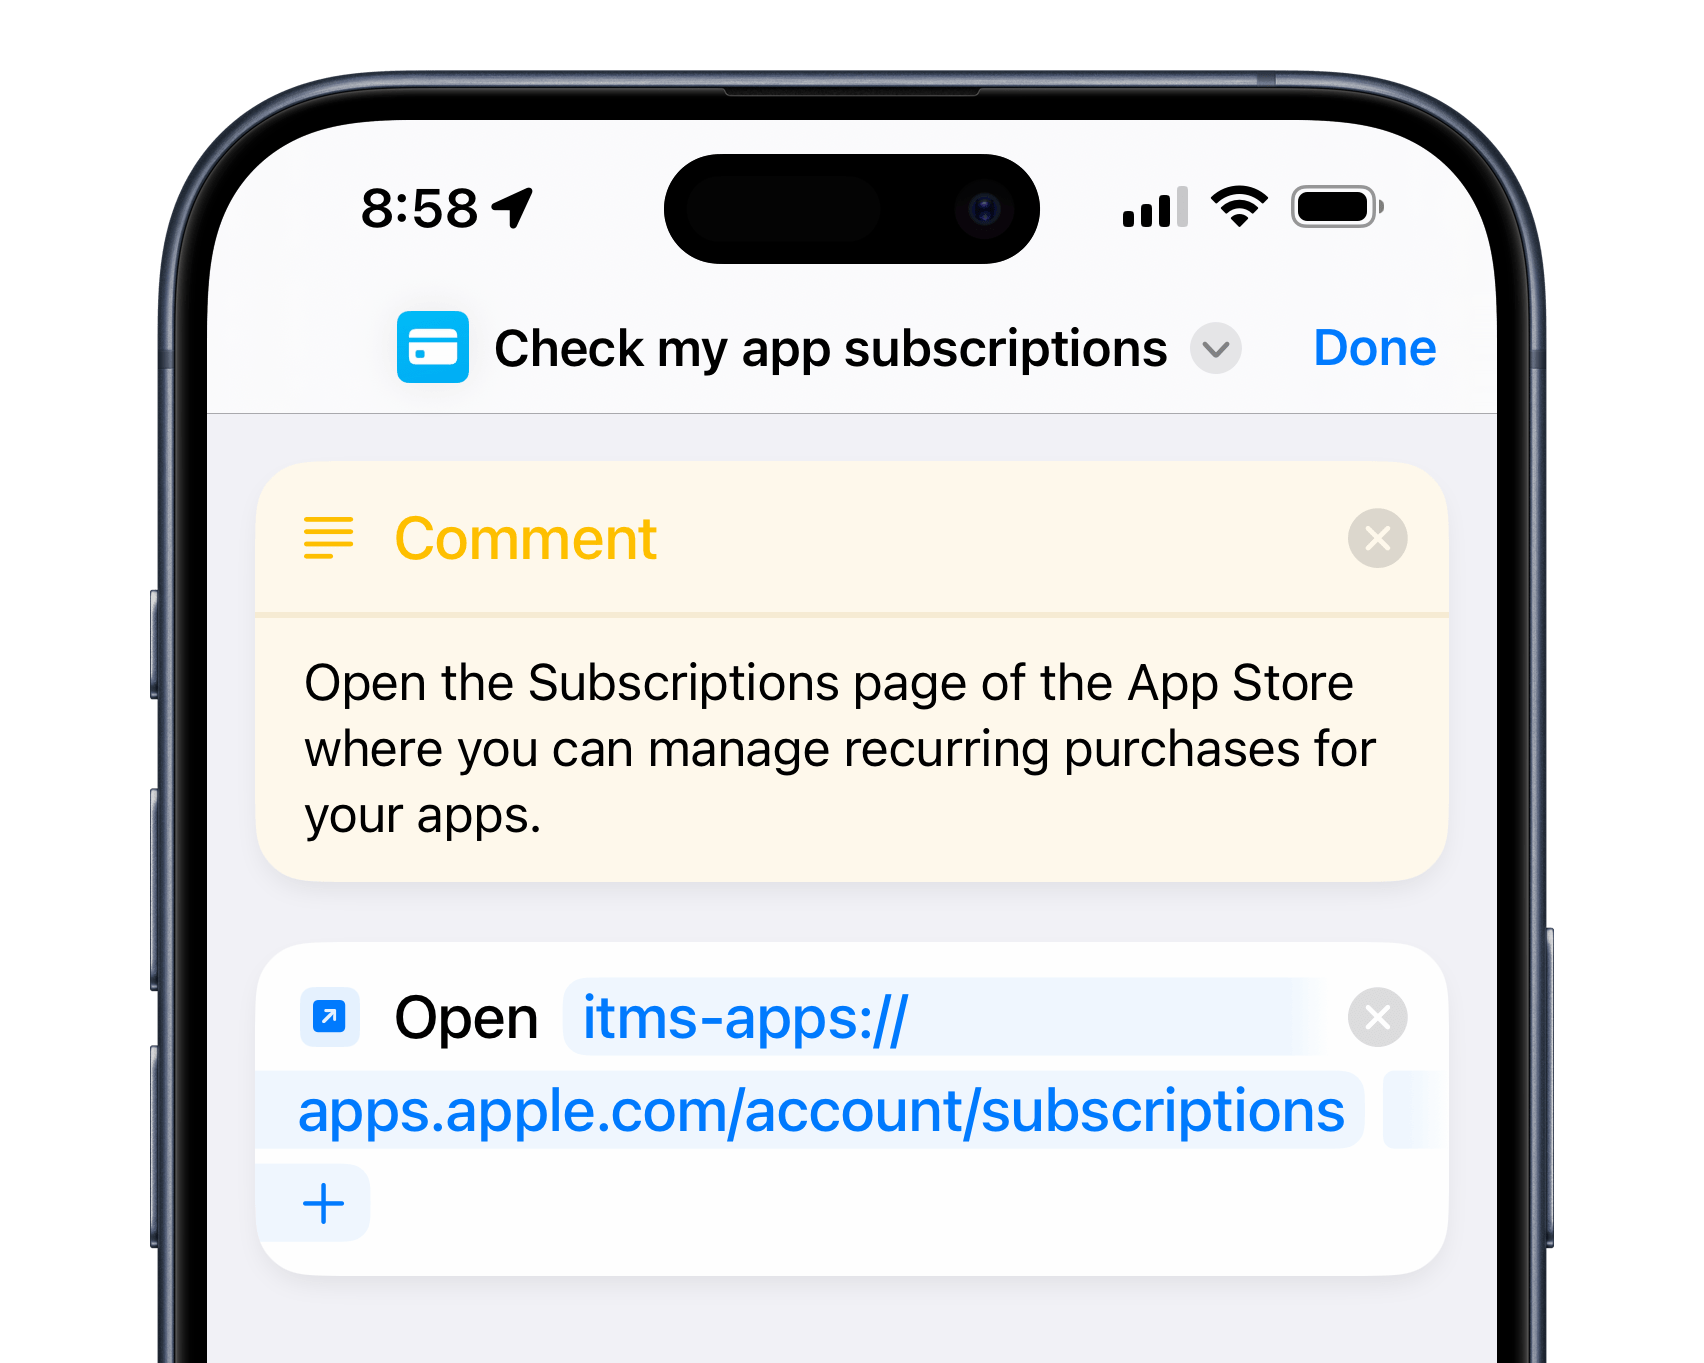
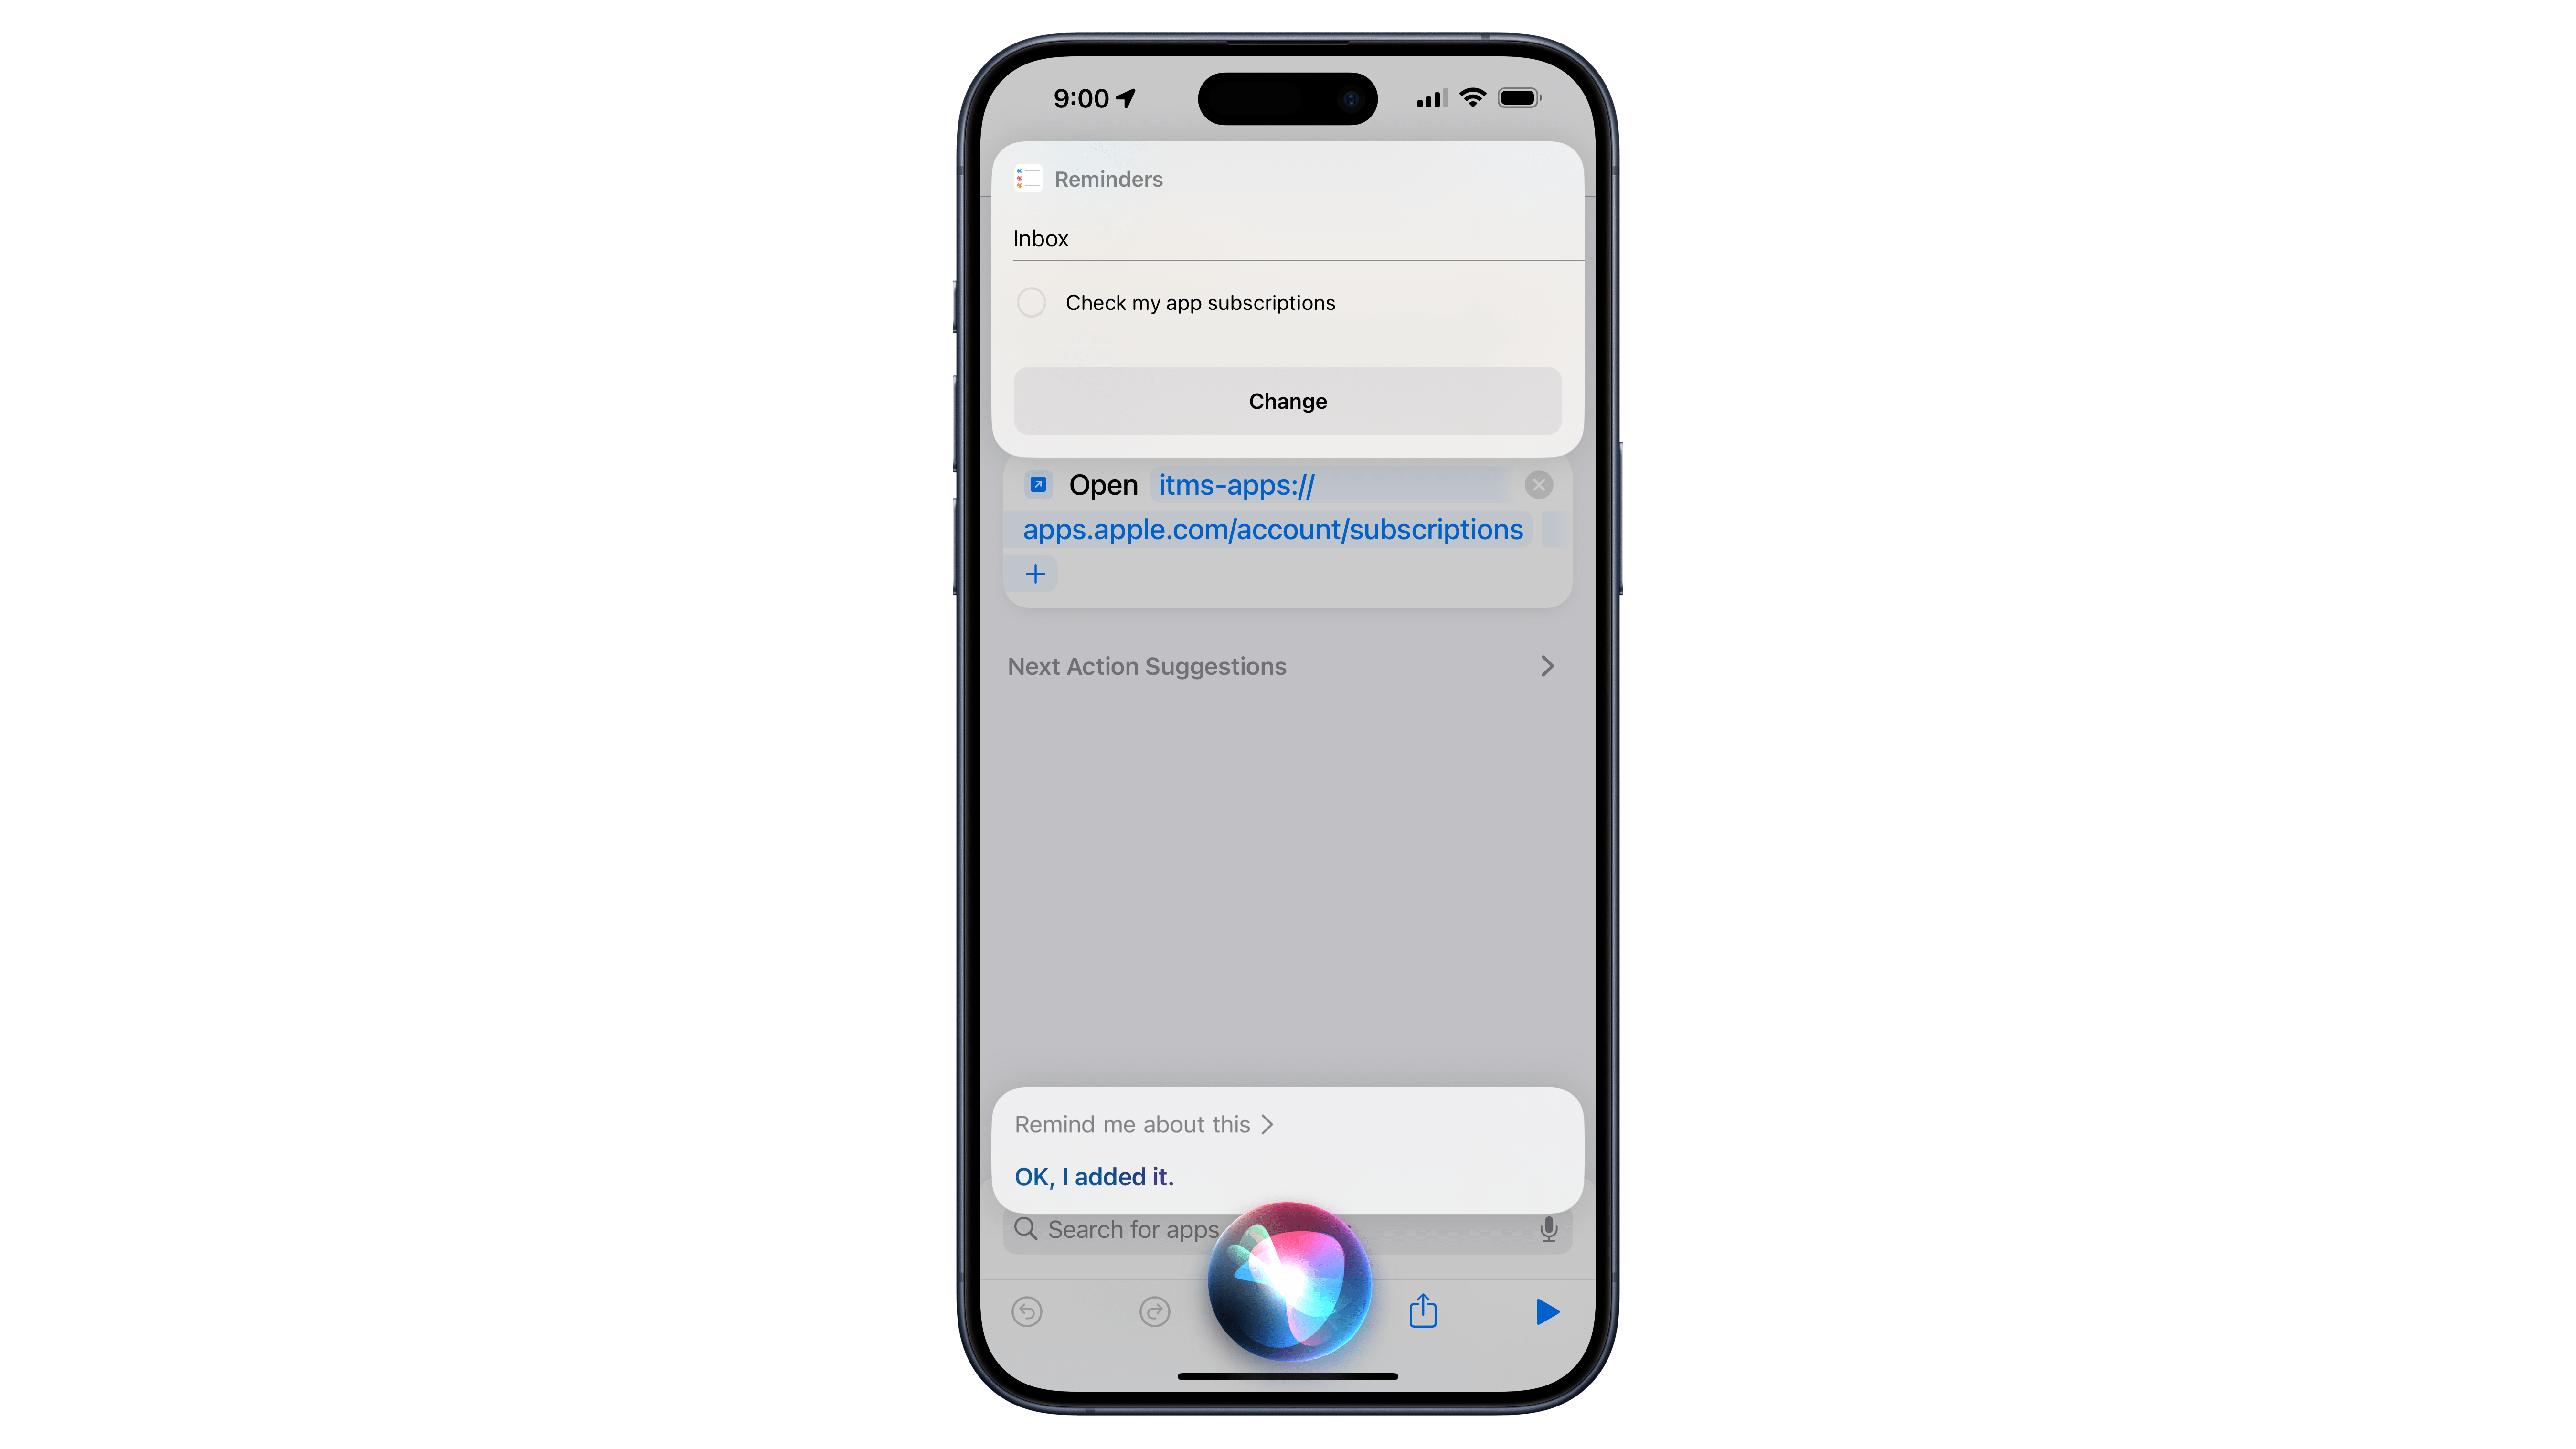
This shortcut uses a deep link into the App Store’s infrastructure, taking the URL itms-apps://apps.apple.com/account/subscriptions and opening the link using Open URLs. When run, Shortcuts opens the URL into the App Store page, showing your list of current subscriptions – including those trials you may have cancelled by default using Tyler’s method.

Once you have the shortcut in your collection, you can ask Siri using the name of the shortcut (which you can customize to your own preferred trigger phrase) and open right to this page at any moment. Or, you can keep it in an instance of the Shortcuts widget – I have mine in a small widget to the left of my Home Screen in a widget stack that I can rotate to when needed.

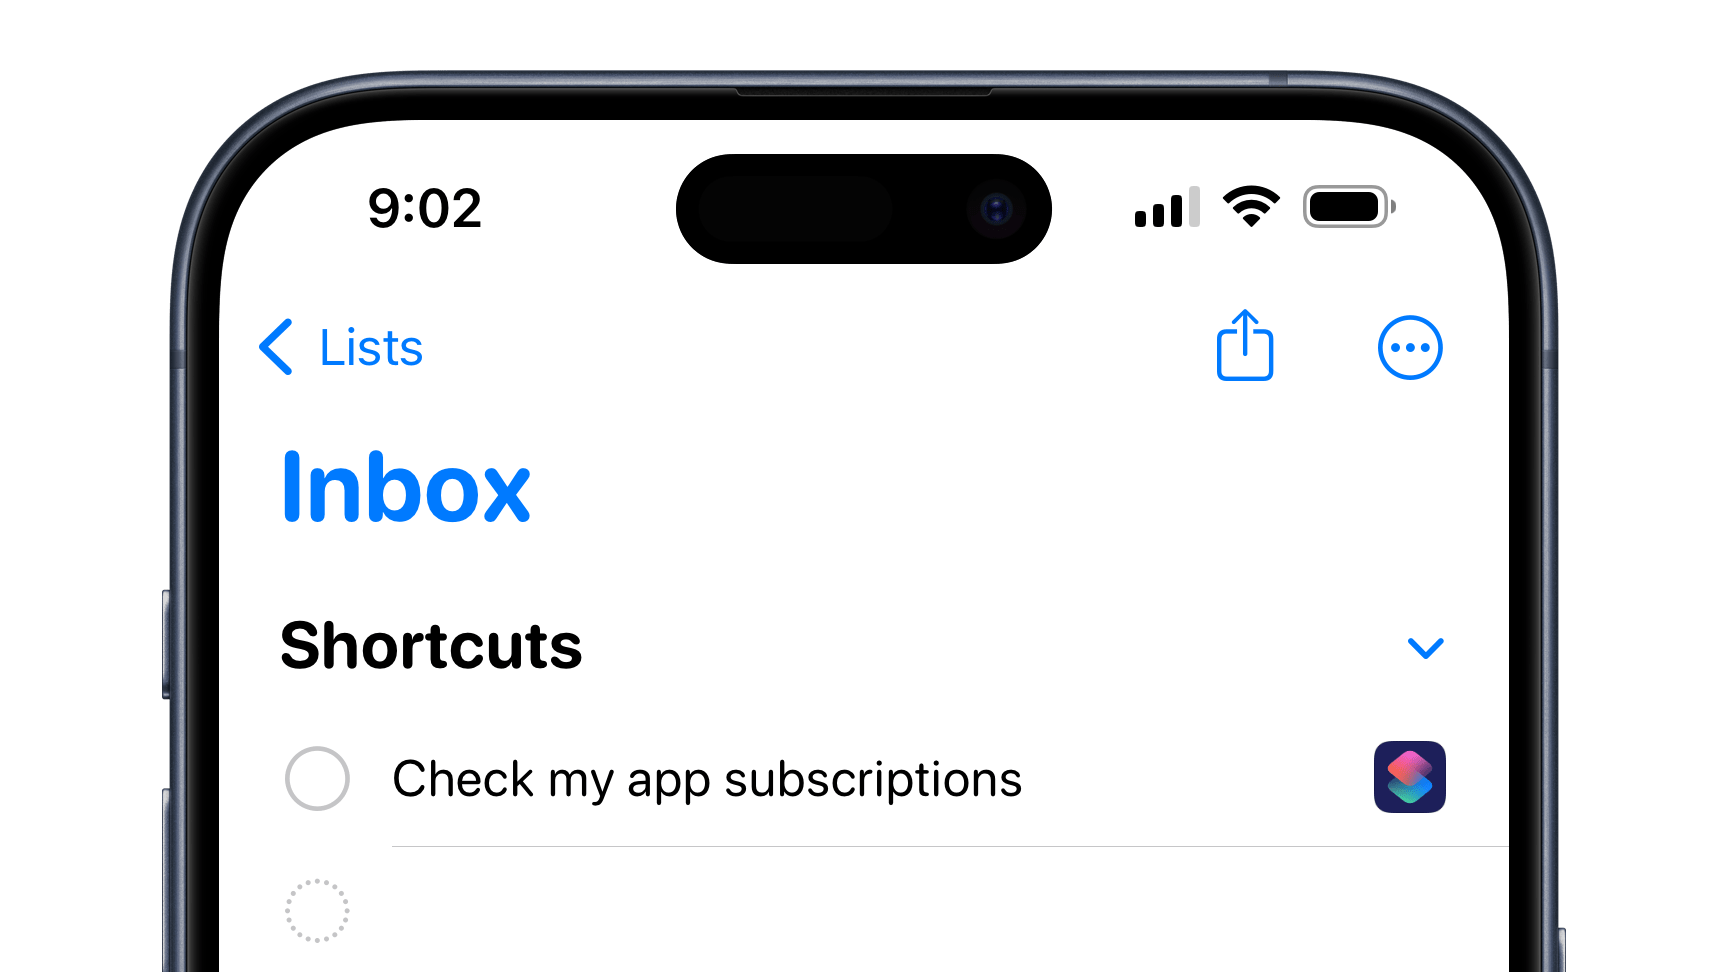
If you really want to stay on top of your subscriptions, however, I recommend using a little-known technique involving Shortcuts, Reminders, and Siri’s capability to “Remind me about this” – which you can use with Shortcuts to create a special button in your new reminder that, when tapped, opens Shortcuts and runs the shortcut.

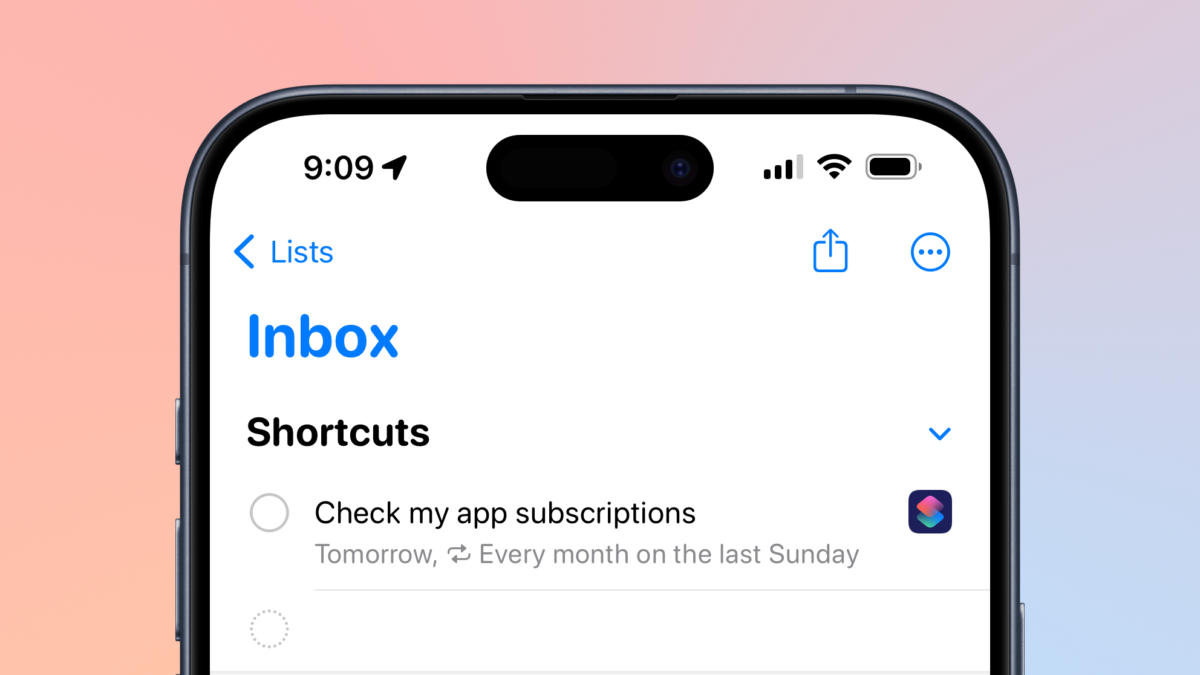
With my “Check My App Subscriptions” shortcut open, you can ask Siri to “Remind me about this” (and even “Remind me about this once a month”) to create the special reminder.

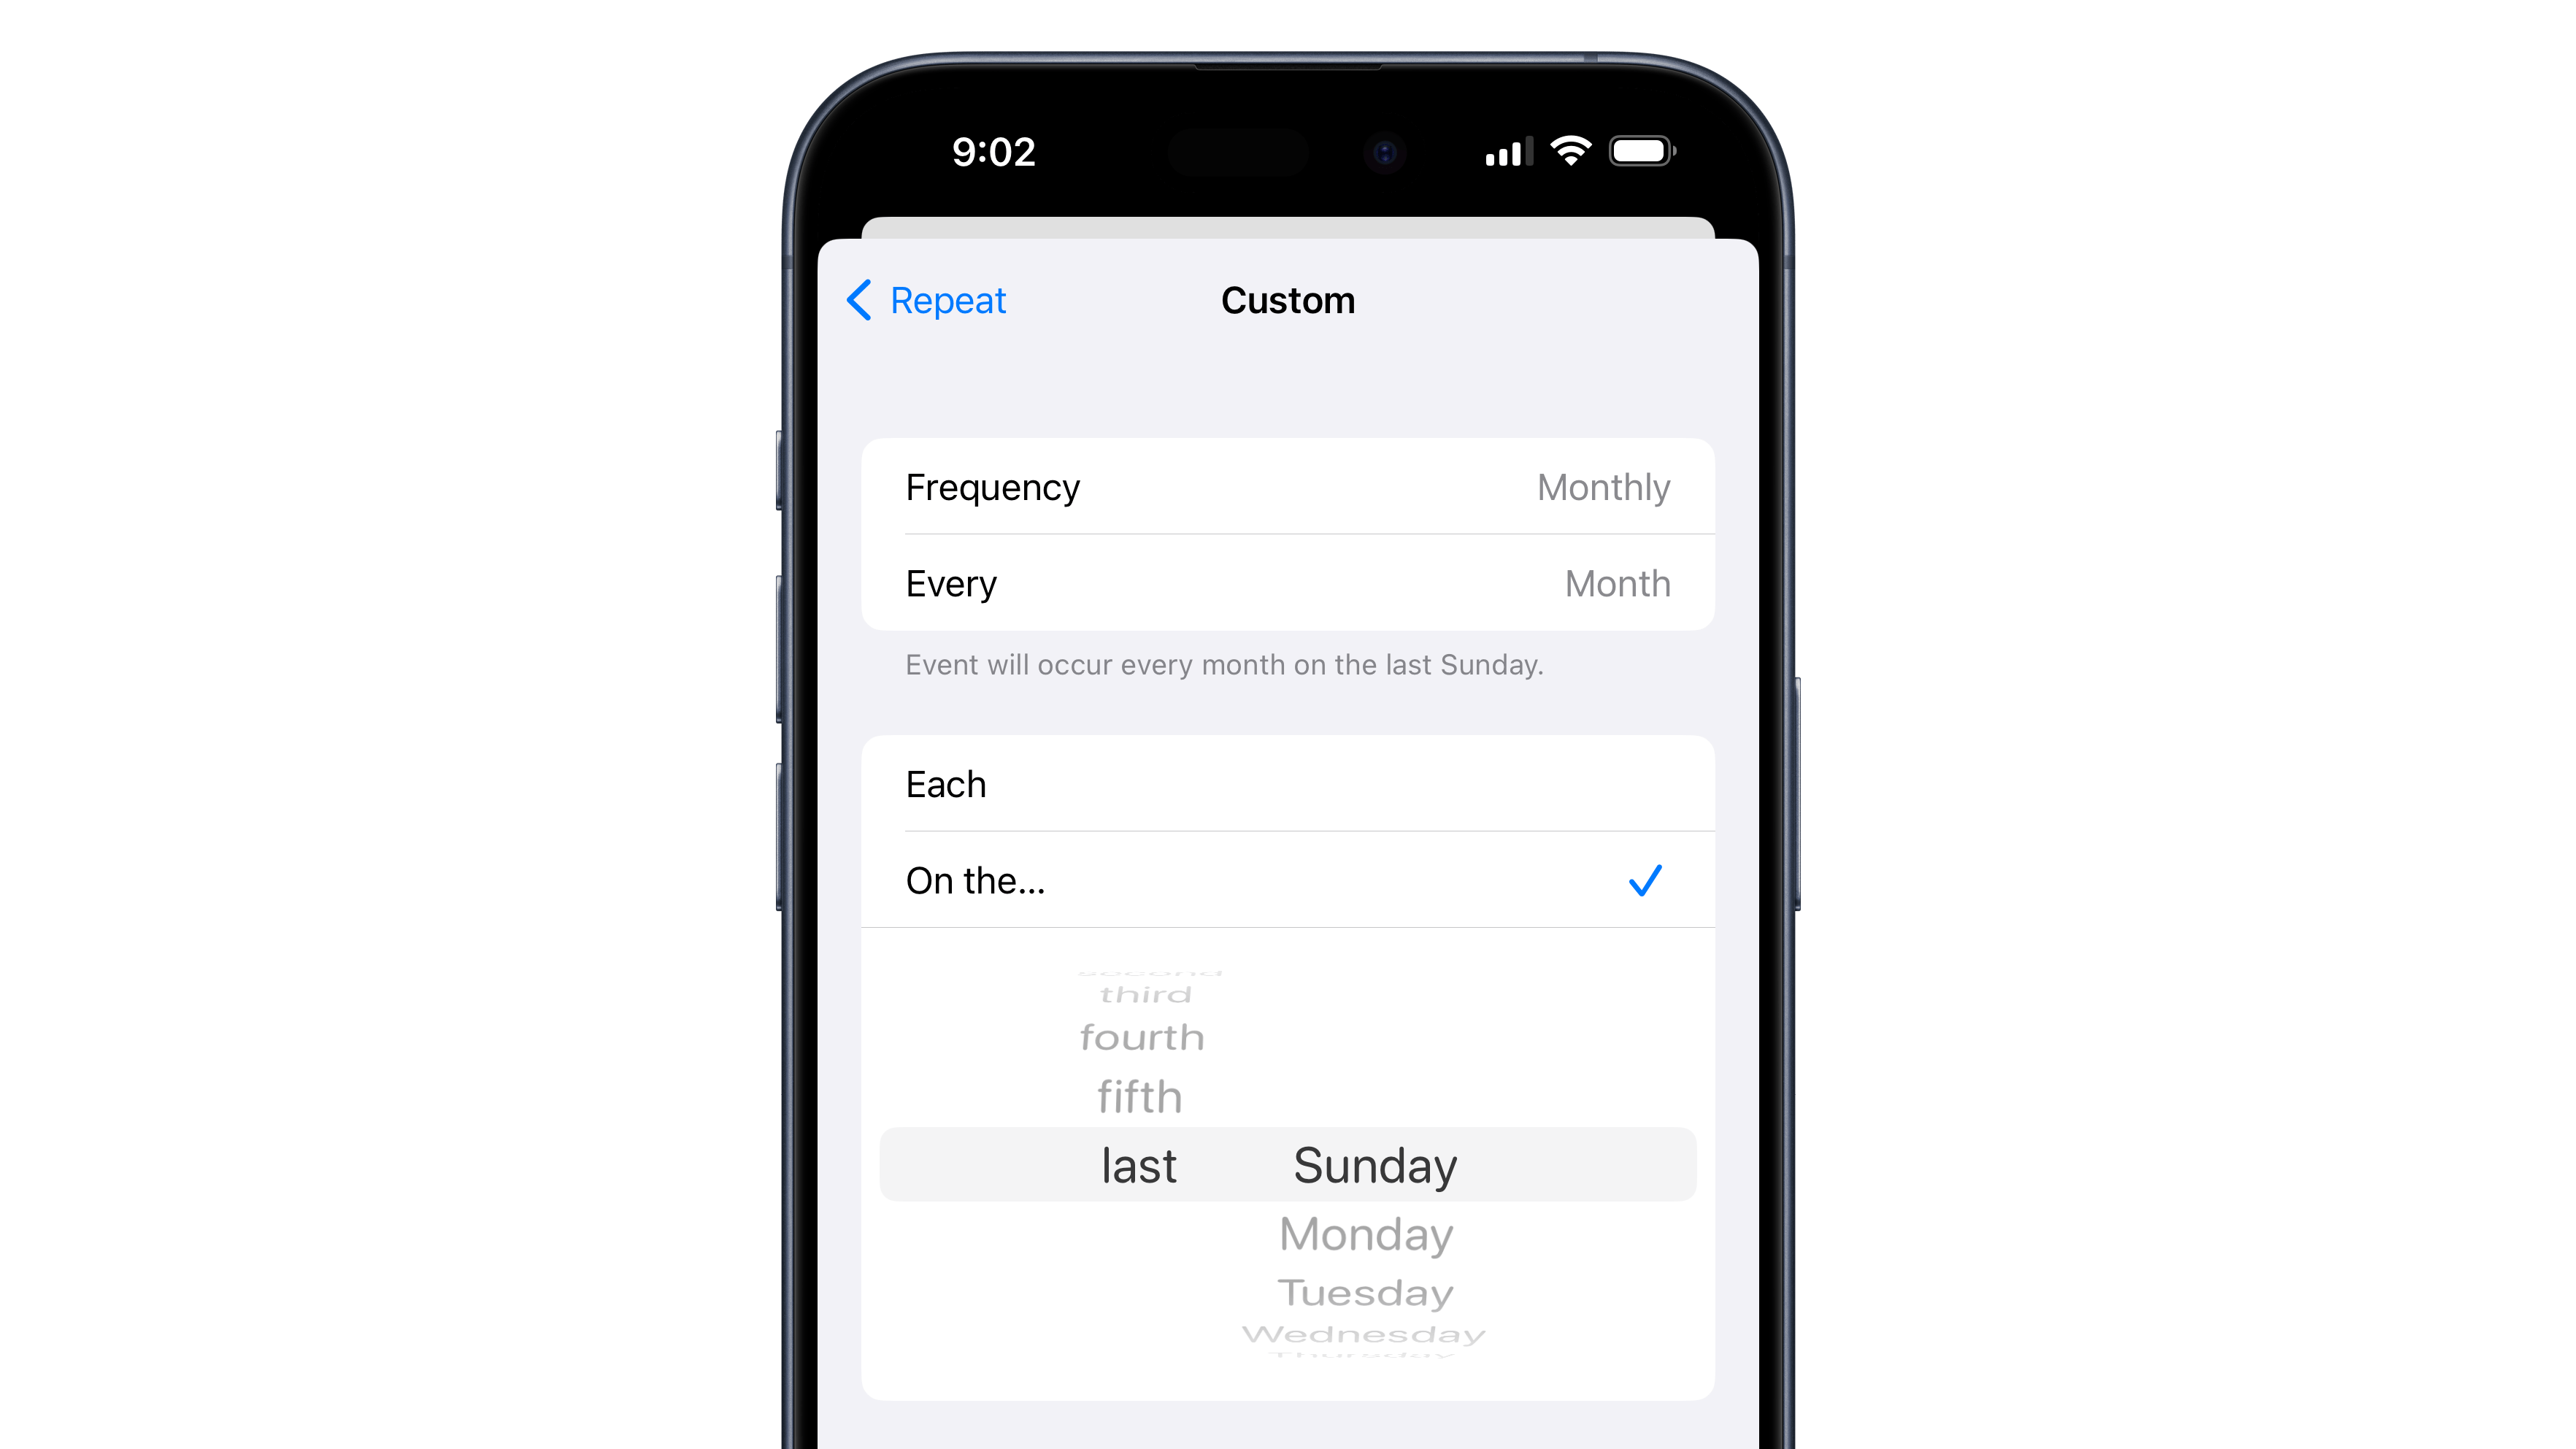
Then, you can customize the details like putting it in a different Reminders list or making the reminder repeat on a schedule – once on the weekends, or monthly on the 15th or the last Sunday are good starting points.

Get the Check My App Subscriptions shortcut in the App Store folder of my Shortcuts Library, and check out Tyler’s original post.

Categories
Apps How To Links

How to change back to the old Twitter app icon on iOS »

From TechCrunch:

As our Twitter apps are updating to now be called “X,” you might long for the old blue bird logo. It harkens back to a similar time, when Twitter certainly had its issues, but at least it was not owned by Elon Musk. Thanks to the shortcuts app on iOS, we can kid ourselves into believing that Twitter is still being run by a different short-sighted billionaire, rather than this even shorter-sighted one. Lucky us!

Here’s how you can change your X icon back to Twitter again:

As I joked on Twi…er, X… “Who’d have thought the world’s primary use case for Shortcuts would be app icon replacement”?

Read the full article (h/t 9to5Mac and iMore).

P.S. I just so happened to publish a guide on this method a few days ago.

Categories
How To

How to coordinate across timezones in Discord with timestamps

If you’re trying to coordinate with other folks over Discord, you might run into timezone issues – often people in disparate communities live all across the world, and trying to specify exactly when everyone should arrive in their relative time can actually prove to be quite hard.

Thankfully, the folks at Discord ran into this enough themselves that a solution is actually built into the application: a special <t:{timestamp}> message (plus an optional :{format} you can append).

Once you send this timestamp, each person will see the correct time in their timezone. Great!

Now you just need a timestamp… which you can get… how??

Oddly, Discord has no way of actually creating this message itself – it requires a Unix timestamp, which seems to be intended for developers who might be programming a chatbot, for example, rather than everyday users.

Thankfully, you can create that timestamp—and take advantage of Discord’s formatting options—using Apple’s Shortcuts app. Here’s how (plus, what a Unix timestamp really is in the first place):

Categories
Custom Shortcuts How To

How to quickly link all your YouTube chapter markers using Shortcuts

Earlier this week, I was putting together my “offsite” blog post for the YouTube stream I recorded while editing in Final Cut Pro for iPad and wanted to make a linked list of all the chapter markers that I added to the livestream.

Each chapter on YouTube must be formatted as a timecode, but making YouTube links to specific timestamps requires a “total seconds” value at the end of the URL, like &amp;t=3600 – something I wasn’t about to do manually for all 90 chapters.

In order to convert everything to the right format quickly and generate URLs to each chapter, I built two shortcuts:

Categories
Custom Shortcuts How To Shortcuts Tips & Tricks

How to copy meeting availability across multiple calendars using Shortcuts

Yesterday over on Six Colors, Jason Snell wrote about his difficulty helping a friend use the Calendar actions in Shortcuts to pull data from two separate calendars:

Lex wanted to use this shortcut to quickly generate a list of times where he’s available for meetings. This is a great use of automation—I wish I’d thought of it. Unfortunately, the shortcut only checks a single calendar, and Lex wanted his availability judged based on entries in two different calendars.

This thread caught my eye: both because I haven’t personally run into that issue, but also because I had actually thought of the automation.

Here’s my Copy my availability shortcut that I built all the way back when Shortcuts was Workflow, which has managed to live on in the Shortcuts Gallery today as the “Share Availability” shortcut.1

In the piece, Jason came up with a solution after Shortcuts couldn’t get all the data in one action:

Categories
How To Video

How to transfer camera settings on a Panasonic LUMIX GH5

I recently got a second Panasonic LUMIX GH5 for my video setup and will now be sharing settings across two cameras regularly — thanks to a Reddit post I found the official Panasonic video explaining how to do just that:

Categories
How To

Words I never want to appear in my writing; or, staying friendly towards beginners

As a writer who generally focuses on complicated processes for using technology, I can find it tempting to default to lazy language that over-simplifies for me, but tends to makes things confusing for new users. If something is difficult for everyone else and I describe it as “simple”, I’ve just lost many people who might’ve otherwise made it through.

For example, when I wrote the Workflow documentation, I took care to make sure I avoided assuming the directions given were as straightforward as possible and could always be understood by someone without any technical training (like me).

Today, I came across a great tweet from Jess Telford, summarizing a post from CSS Tricks and originated by Chris Coyier, who message I’ve seen before but am officially copying for my own work. This is aimed at code comments, but the author suggests setting the following words as “errors” in your syntax highlighter:

  • Obviously
  • Basically
  • Simply
  • Of Course
  • Clearly
  • Just
  • Everyone knows
  • However
  • So,
  • Easy

Using these words in an explainer context is now banned from all of my writing.

Nothing with iOS automation or the technical details of how something works is easy, simple, or clear – at some point, it was explained to you. Not everyone knows, you don’t “just” do something because there’s a verb for that action, and many complex things are rarely obvious how to use at first.

I want to avoid alienating anyone who reads my writing or wants to learn more about how to use technology – the goal is to empower, not educate from above.

If you see me using this language, don’t hesitate to call me out.